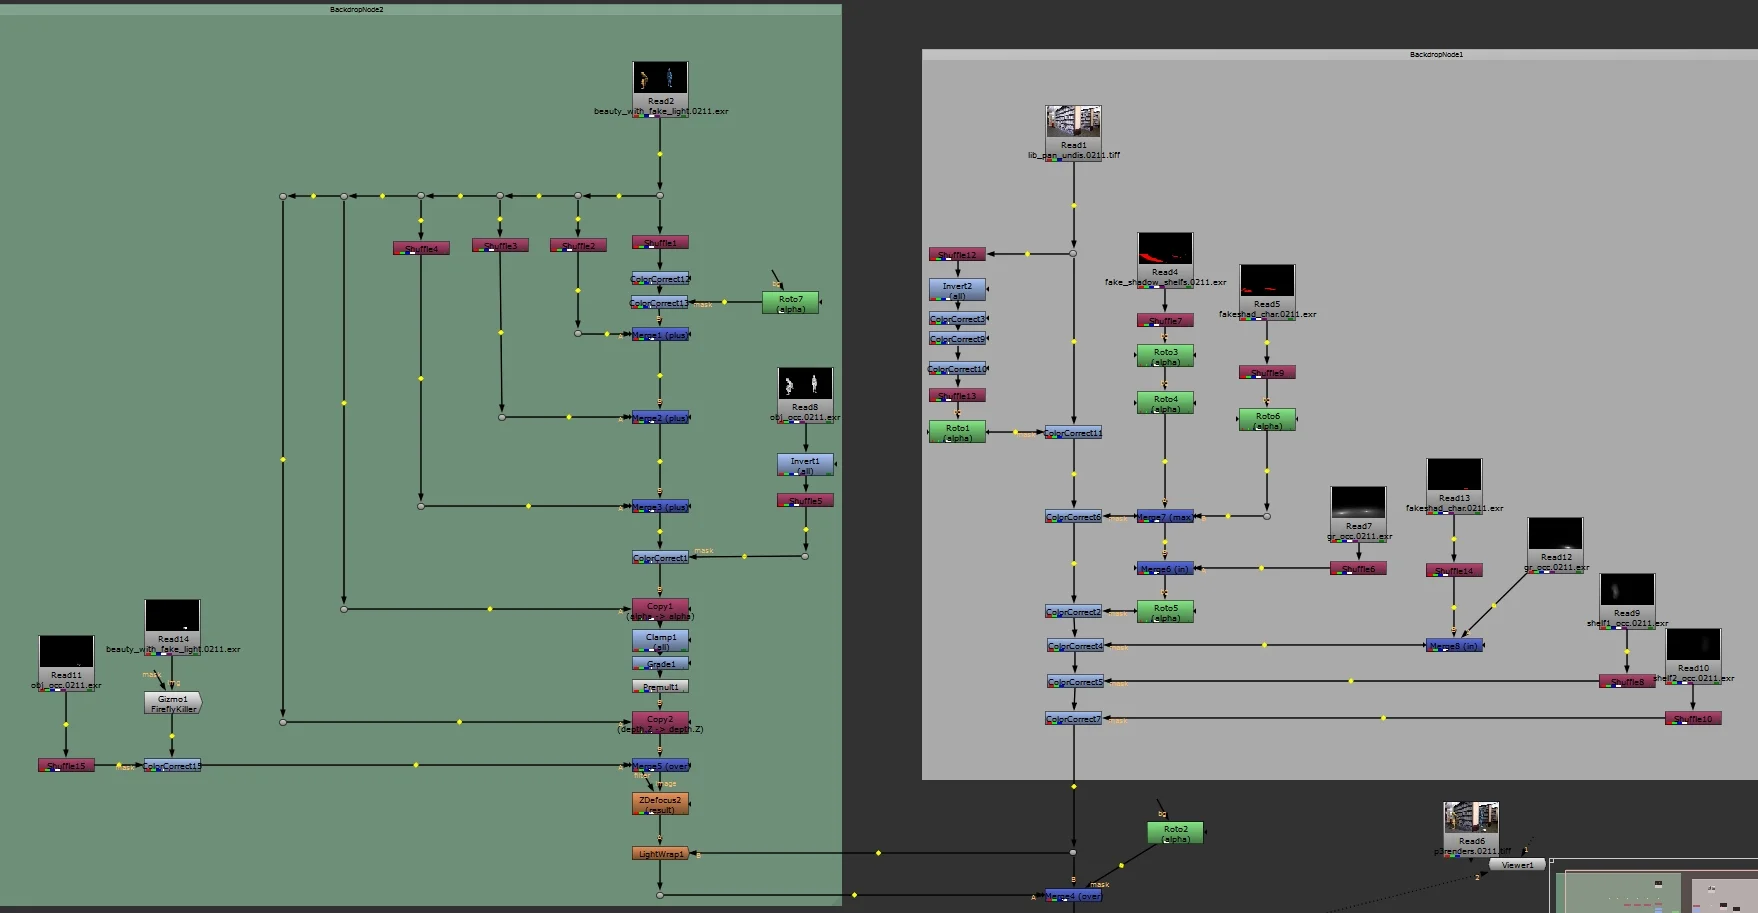
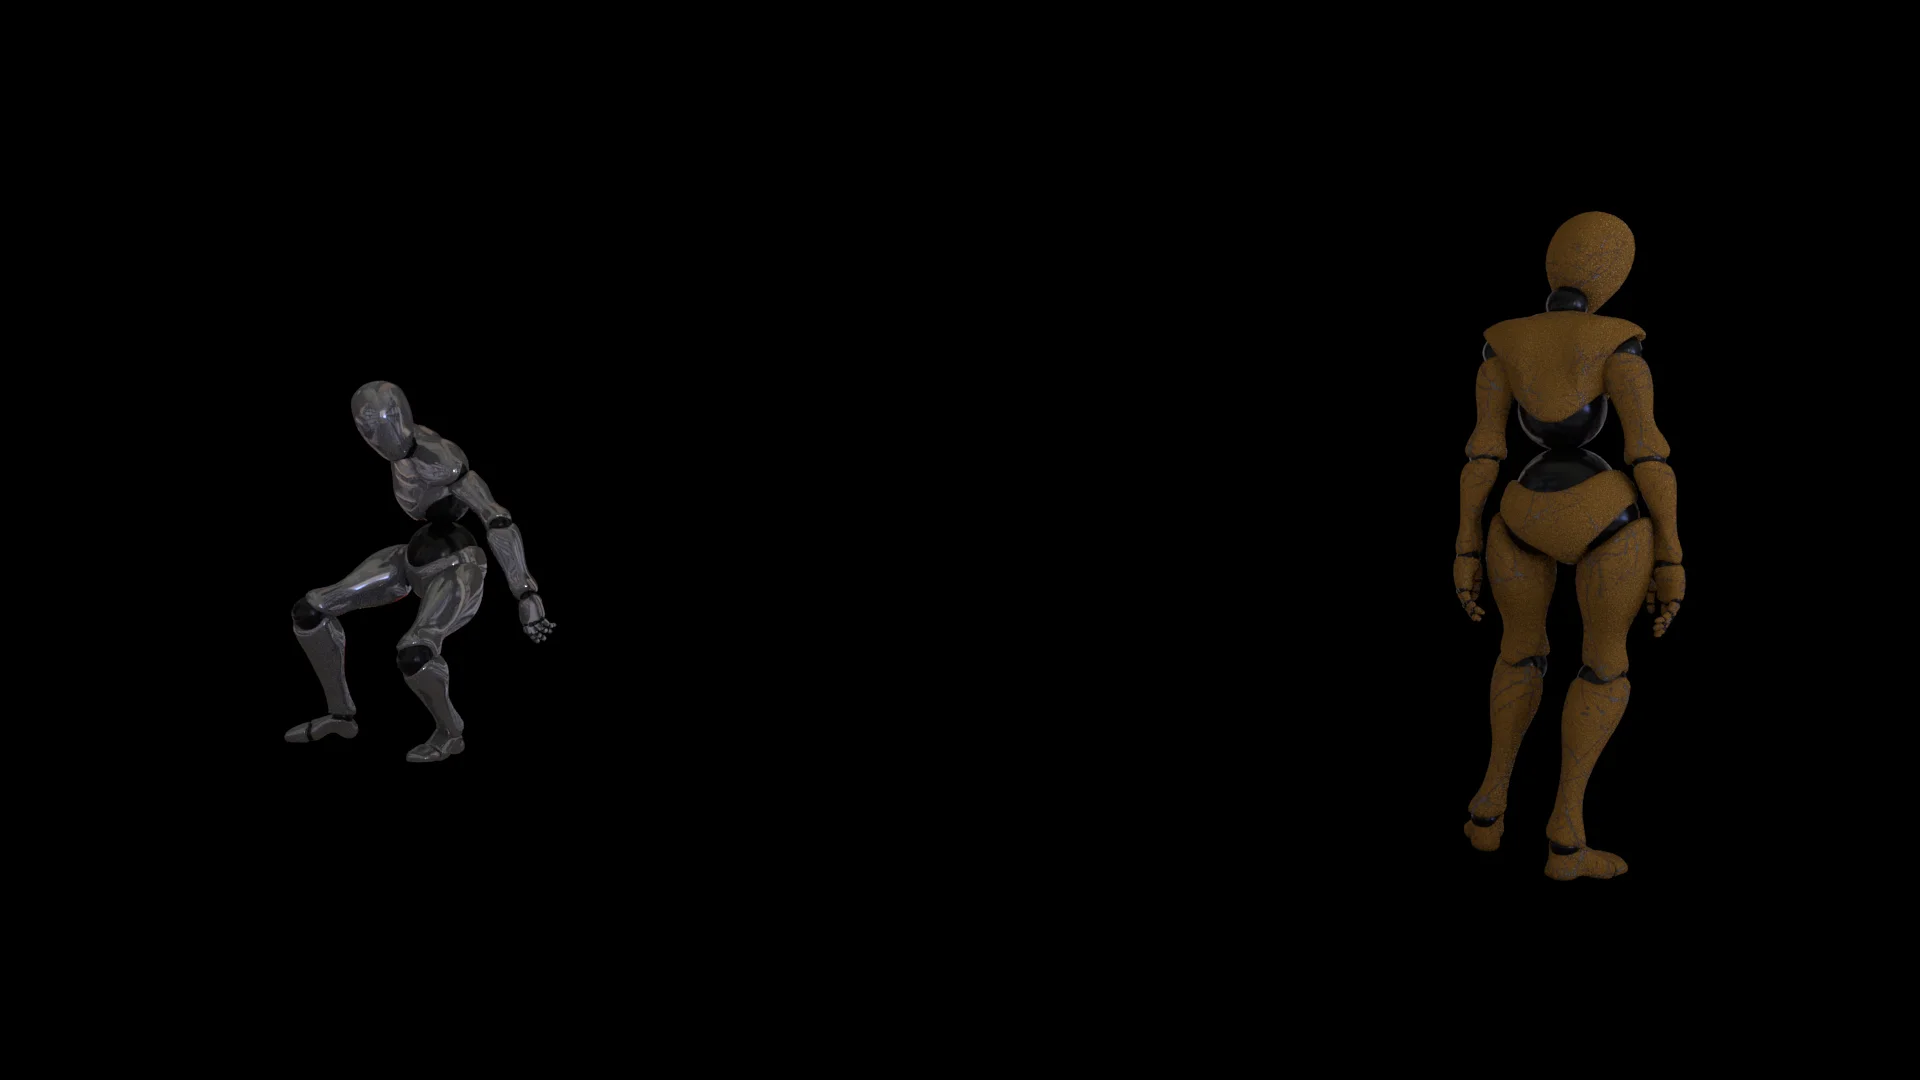
I haven’t made too many big changes this week, mainly just fixing renders and refining rotos. I did desaturate the orange chair in the background since that was standing out a lot more than the characters. I was having an issue were I was getting these bright colored pixels that were like fireflies. I ended up fixing them by clamping all of my surface shaders on the bookshelves. I also moved the second character to be a bit more behind the shelve so I could add some roto work in this project and make him feel more in the scene. Below is the final video, which includes a breakdown and my nuke tree.
Technical Composting: Week Eight and Nine
I spent most of my time in week eight tracking the footage. I was having some difficulties at first but then I undistorted the footage which helped a lot with getting a more accurate track. Here’s a frame of the footage, distorted and undistorted.


I also started adding my character into the scene and ended up also adding a second character into the scene. This second character has a different animation, I tried to find one that would look like hes looking at the books.I tried making some textures for my characters but I really wasn’t happy with how they were looking. Instead I decided to go with just some nice shaders and focus on making the reflection of all the book shelves look nice. Below I have a picture of the textures and shaders I tired and the more simple ones I ended up going with.
I also ended up changed the lighting by adding in a new light to create some shadows so the shadows wouldn’t be all occlusion and you can see that lighting change in those beauty renders.
Technical Compositing: Week Seven
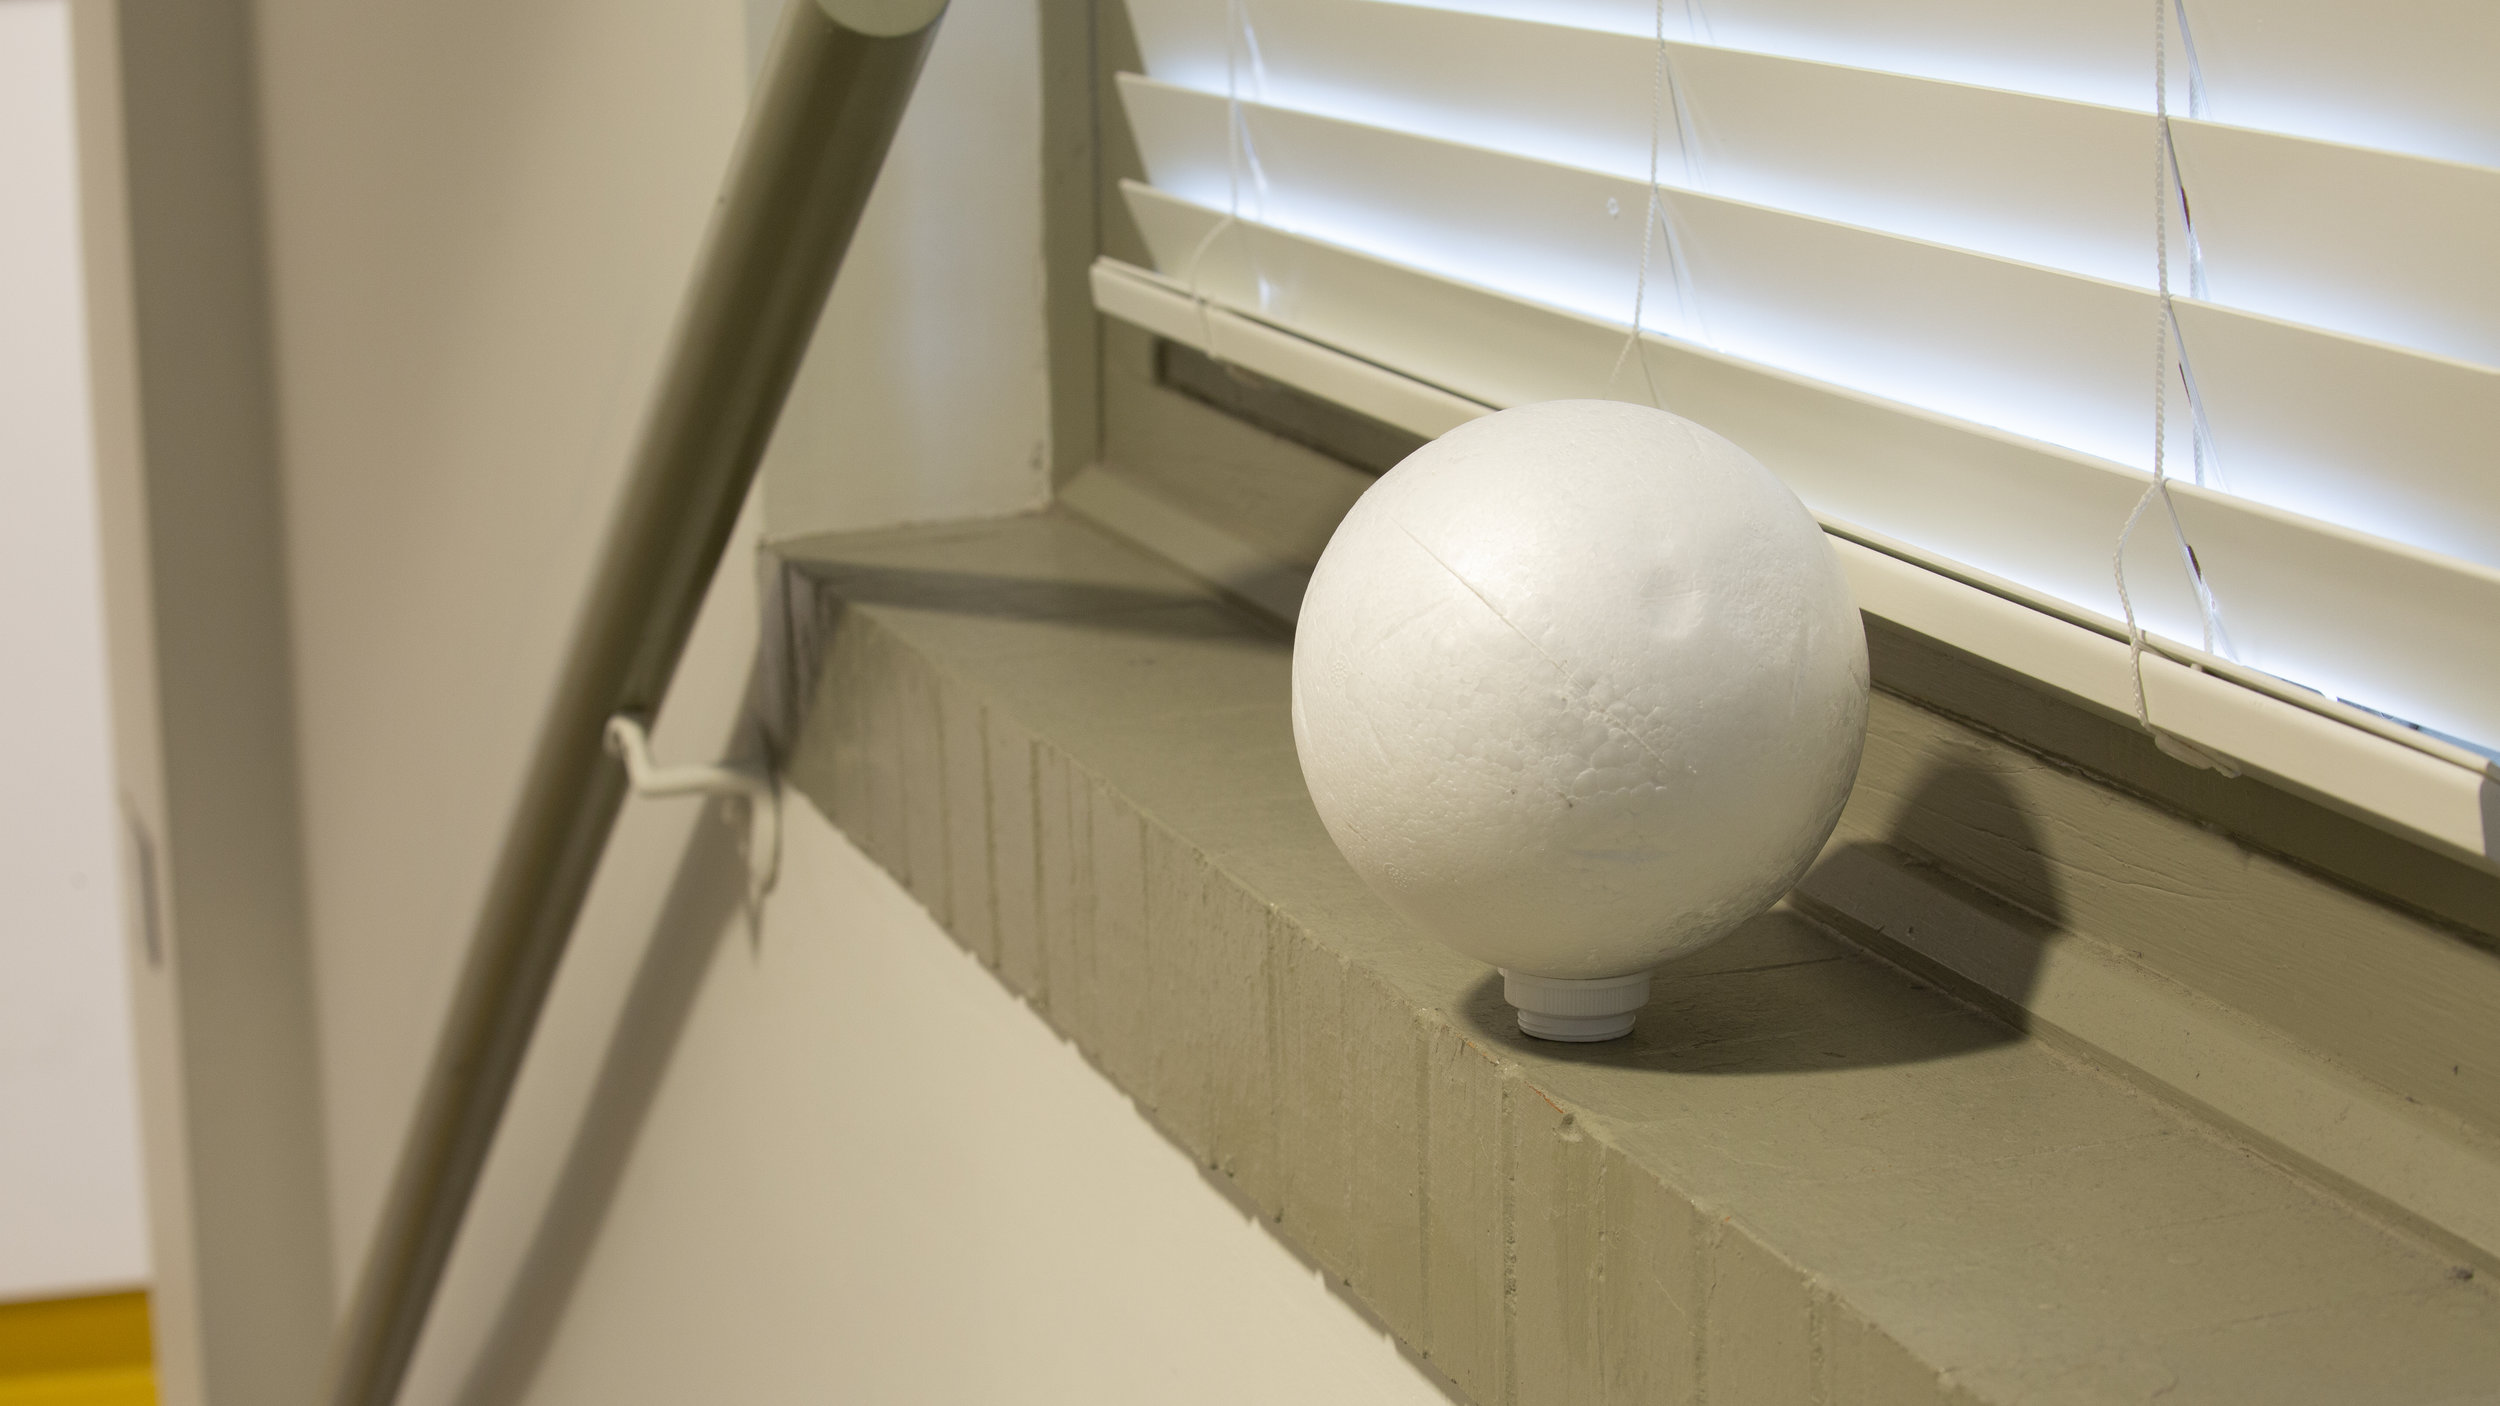
This week we started project 3. Project three is all about taking someone elses animation and putting in a moving back plate that will need to be tracked. I picked an area in the SCAD library. Below is a picture of the area and my reference for the white ball and the chrome sphere.
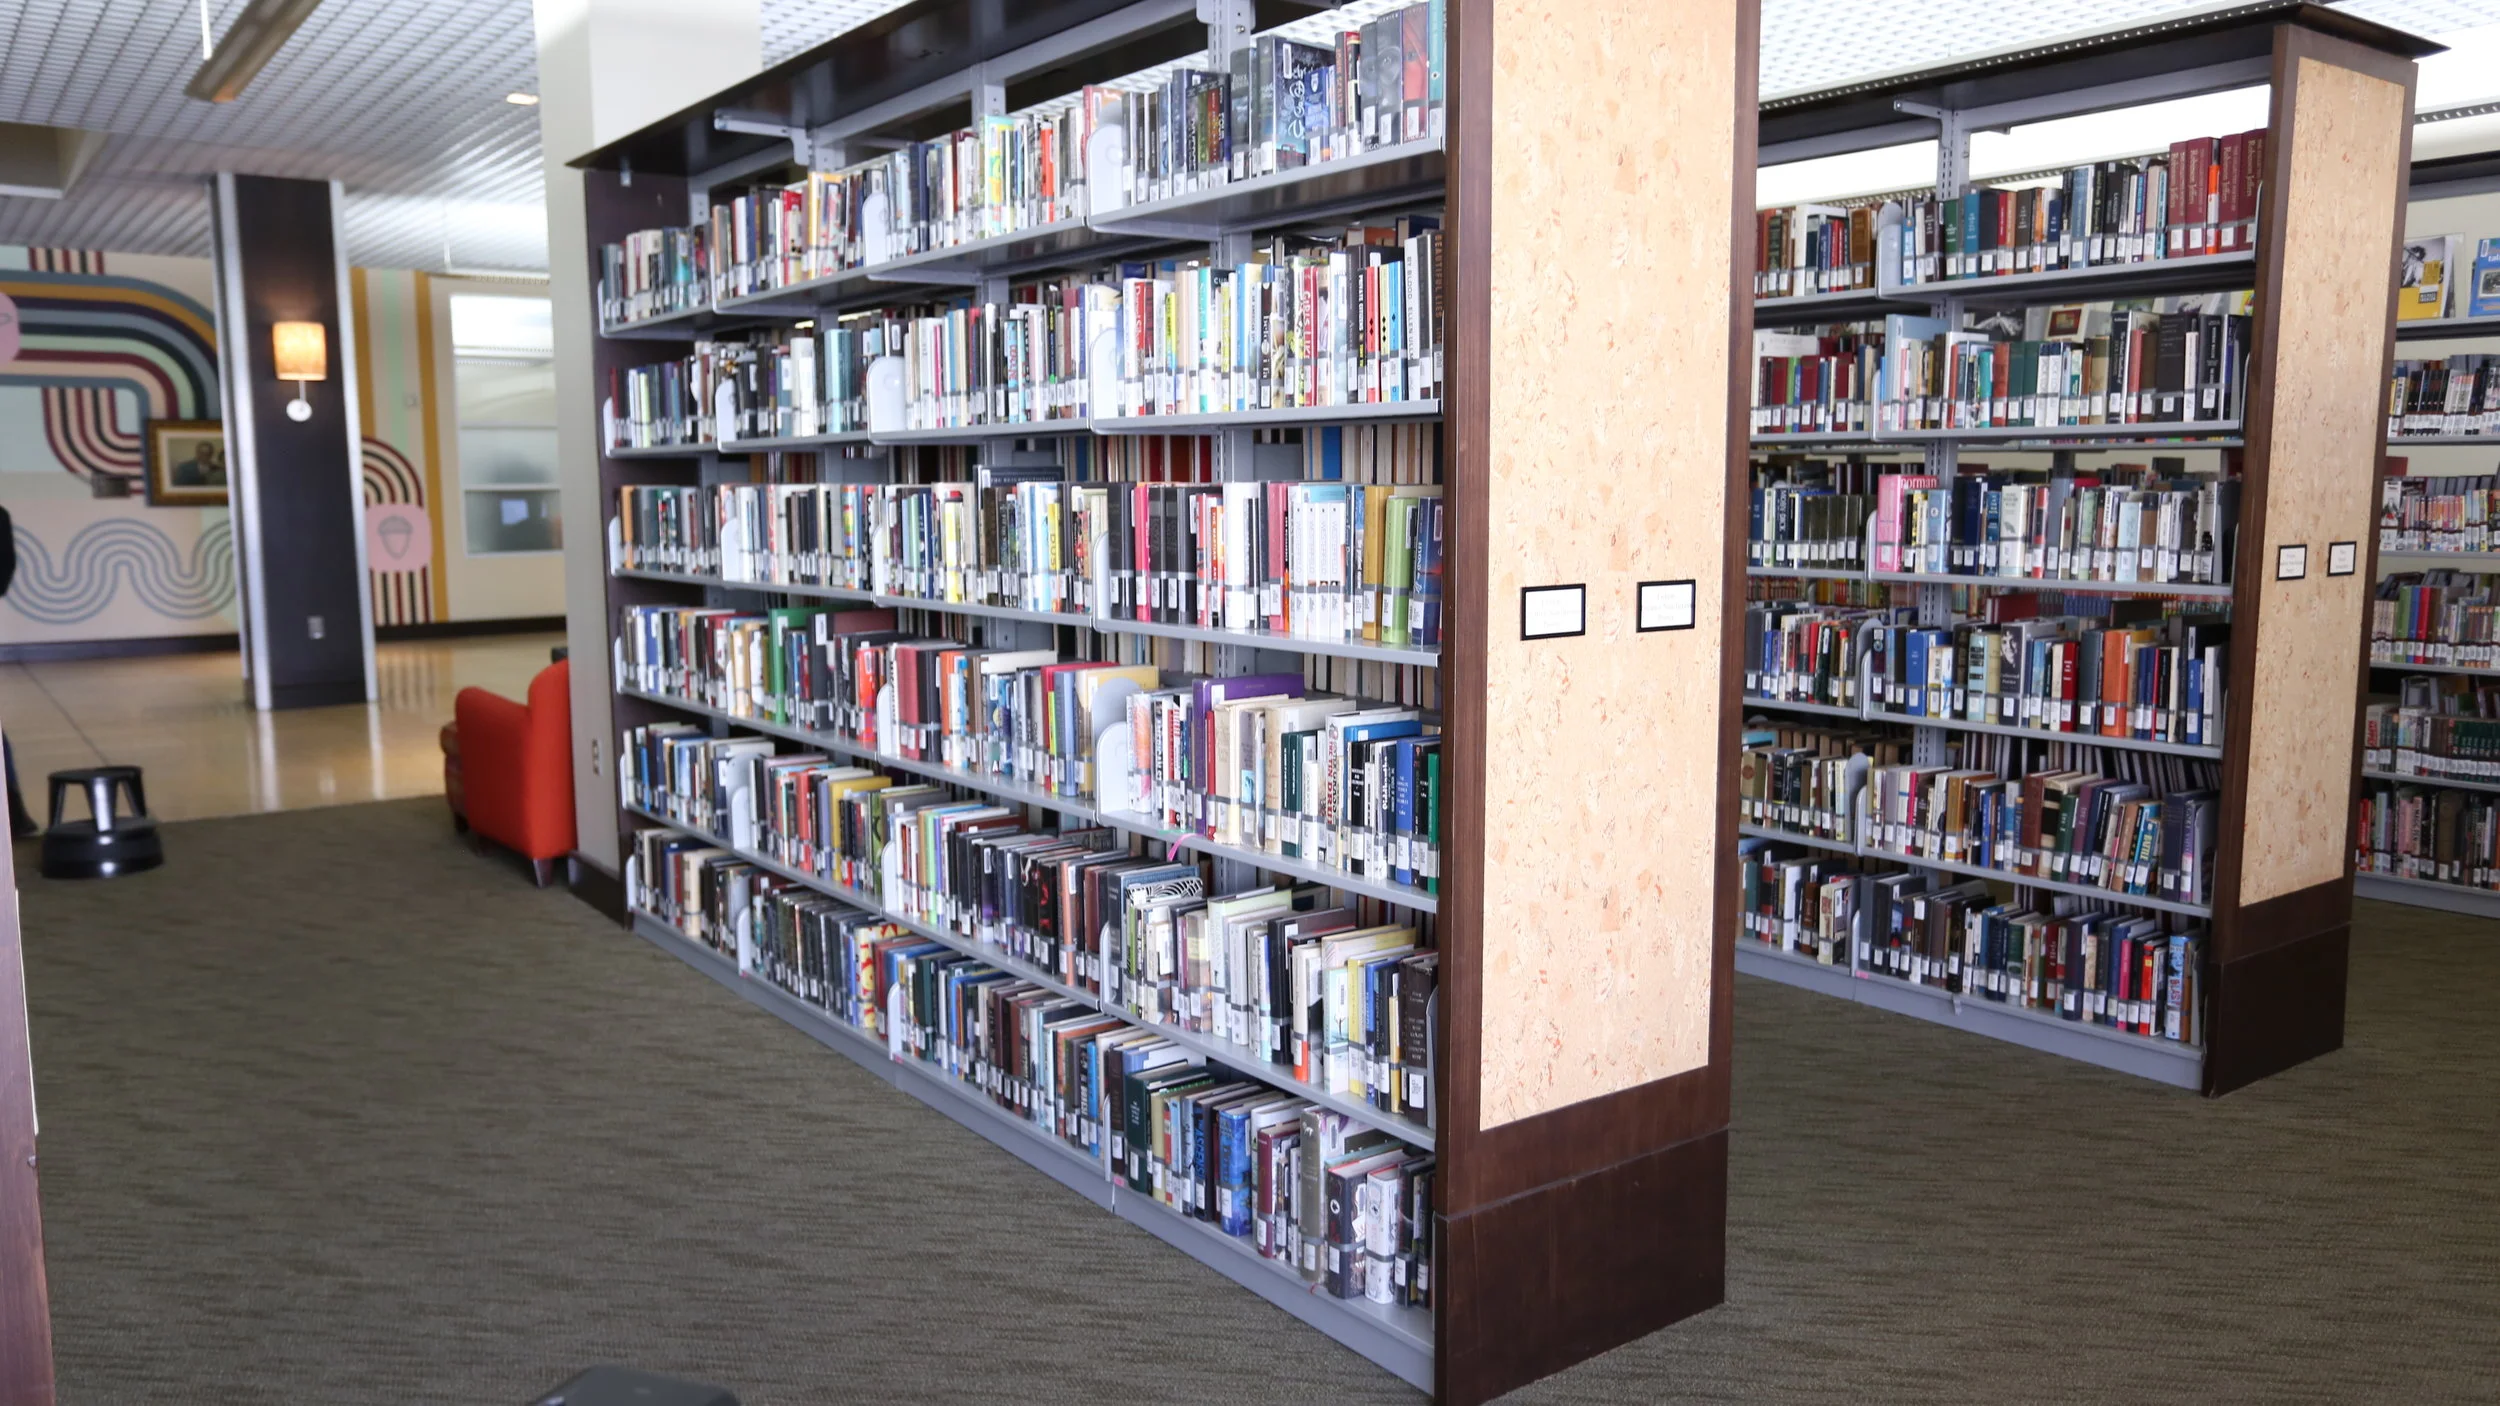
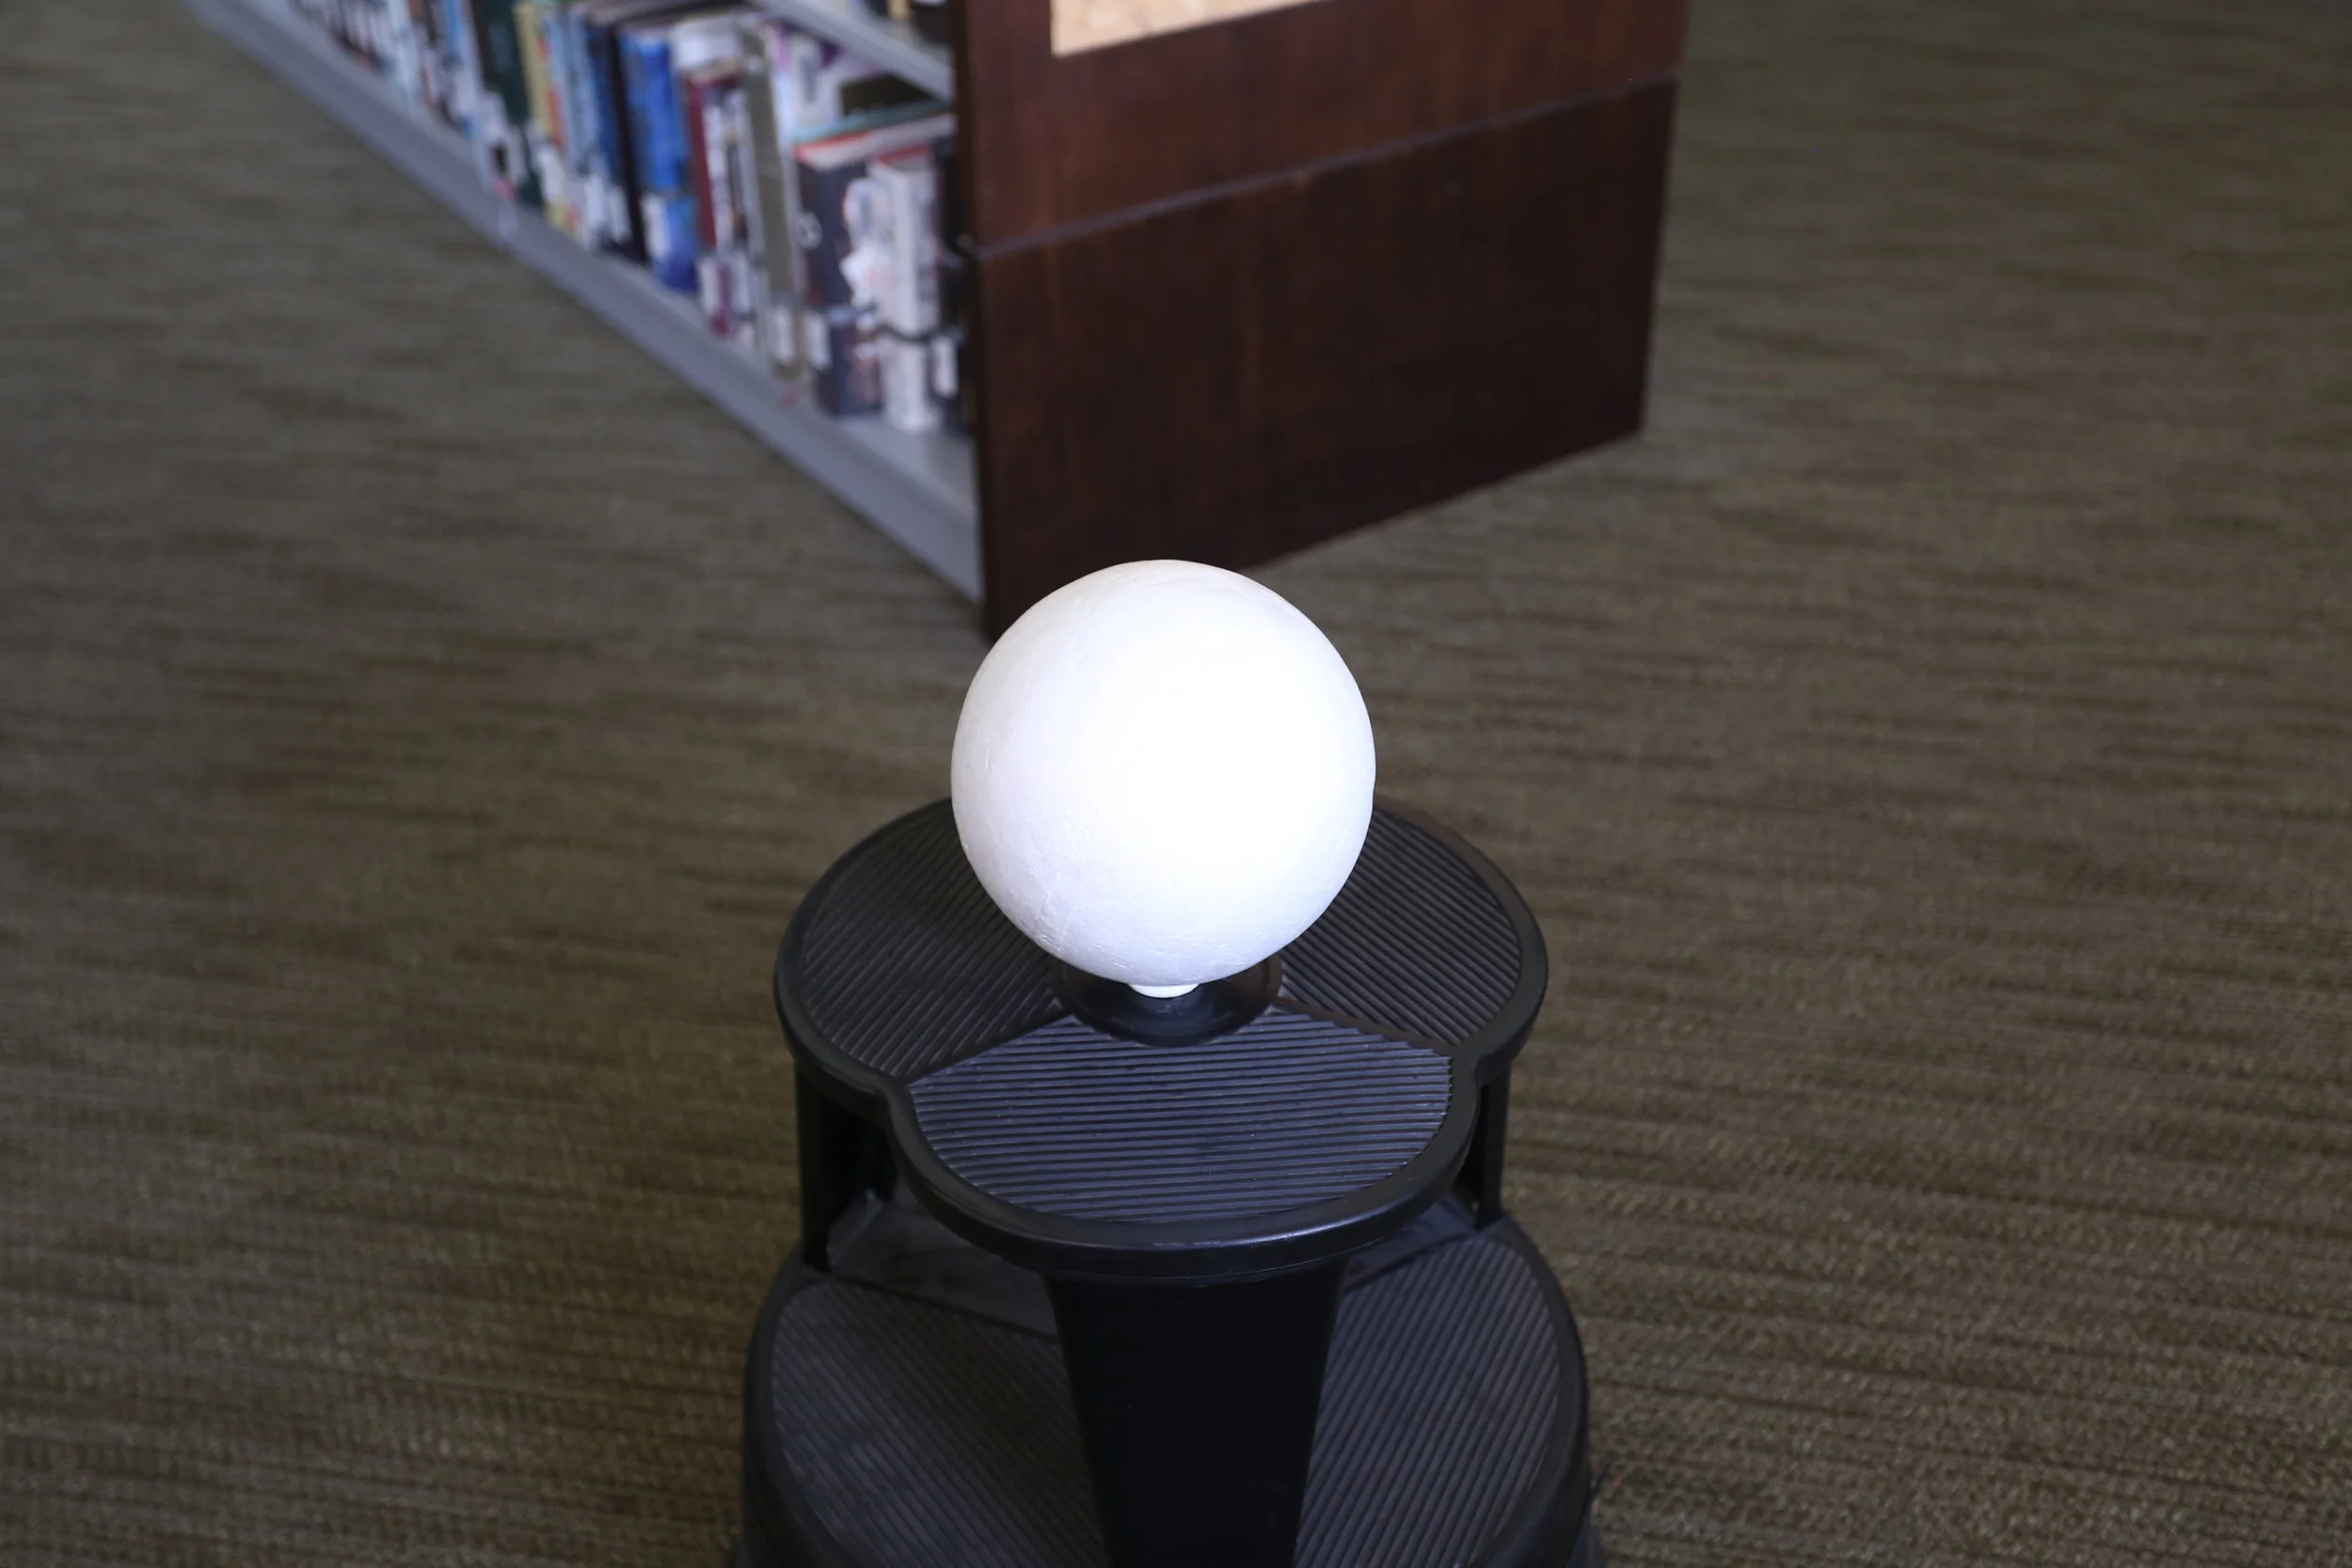
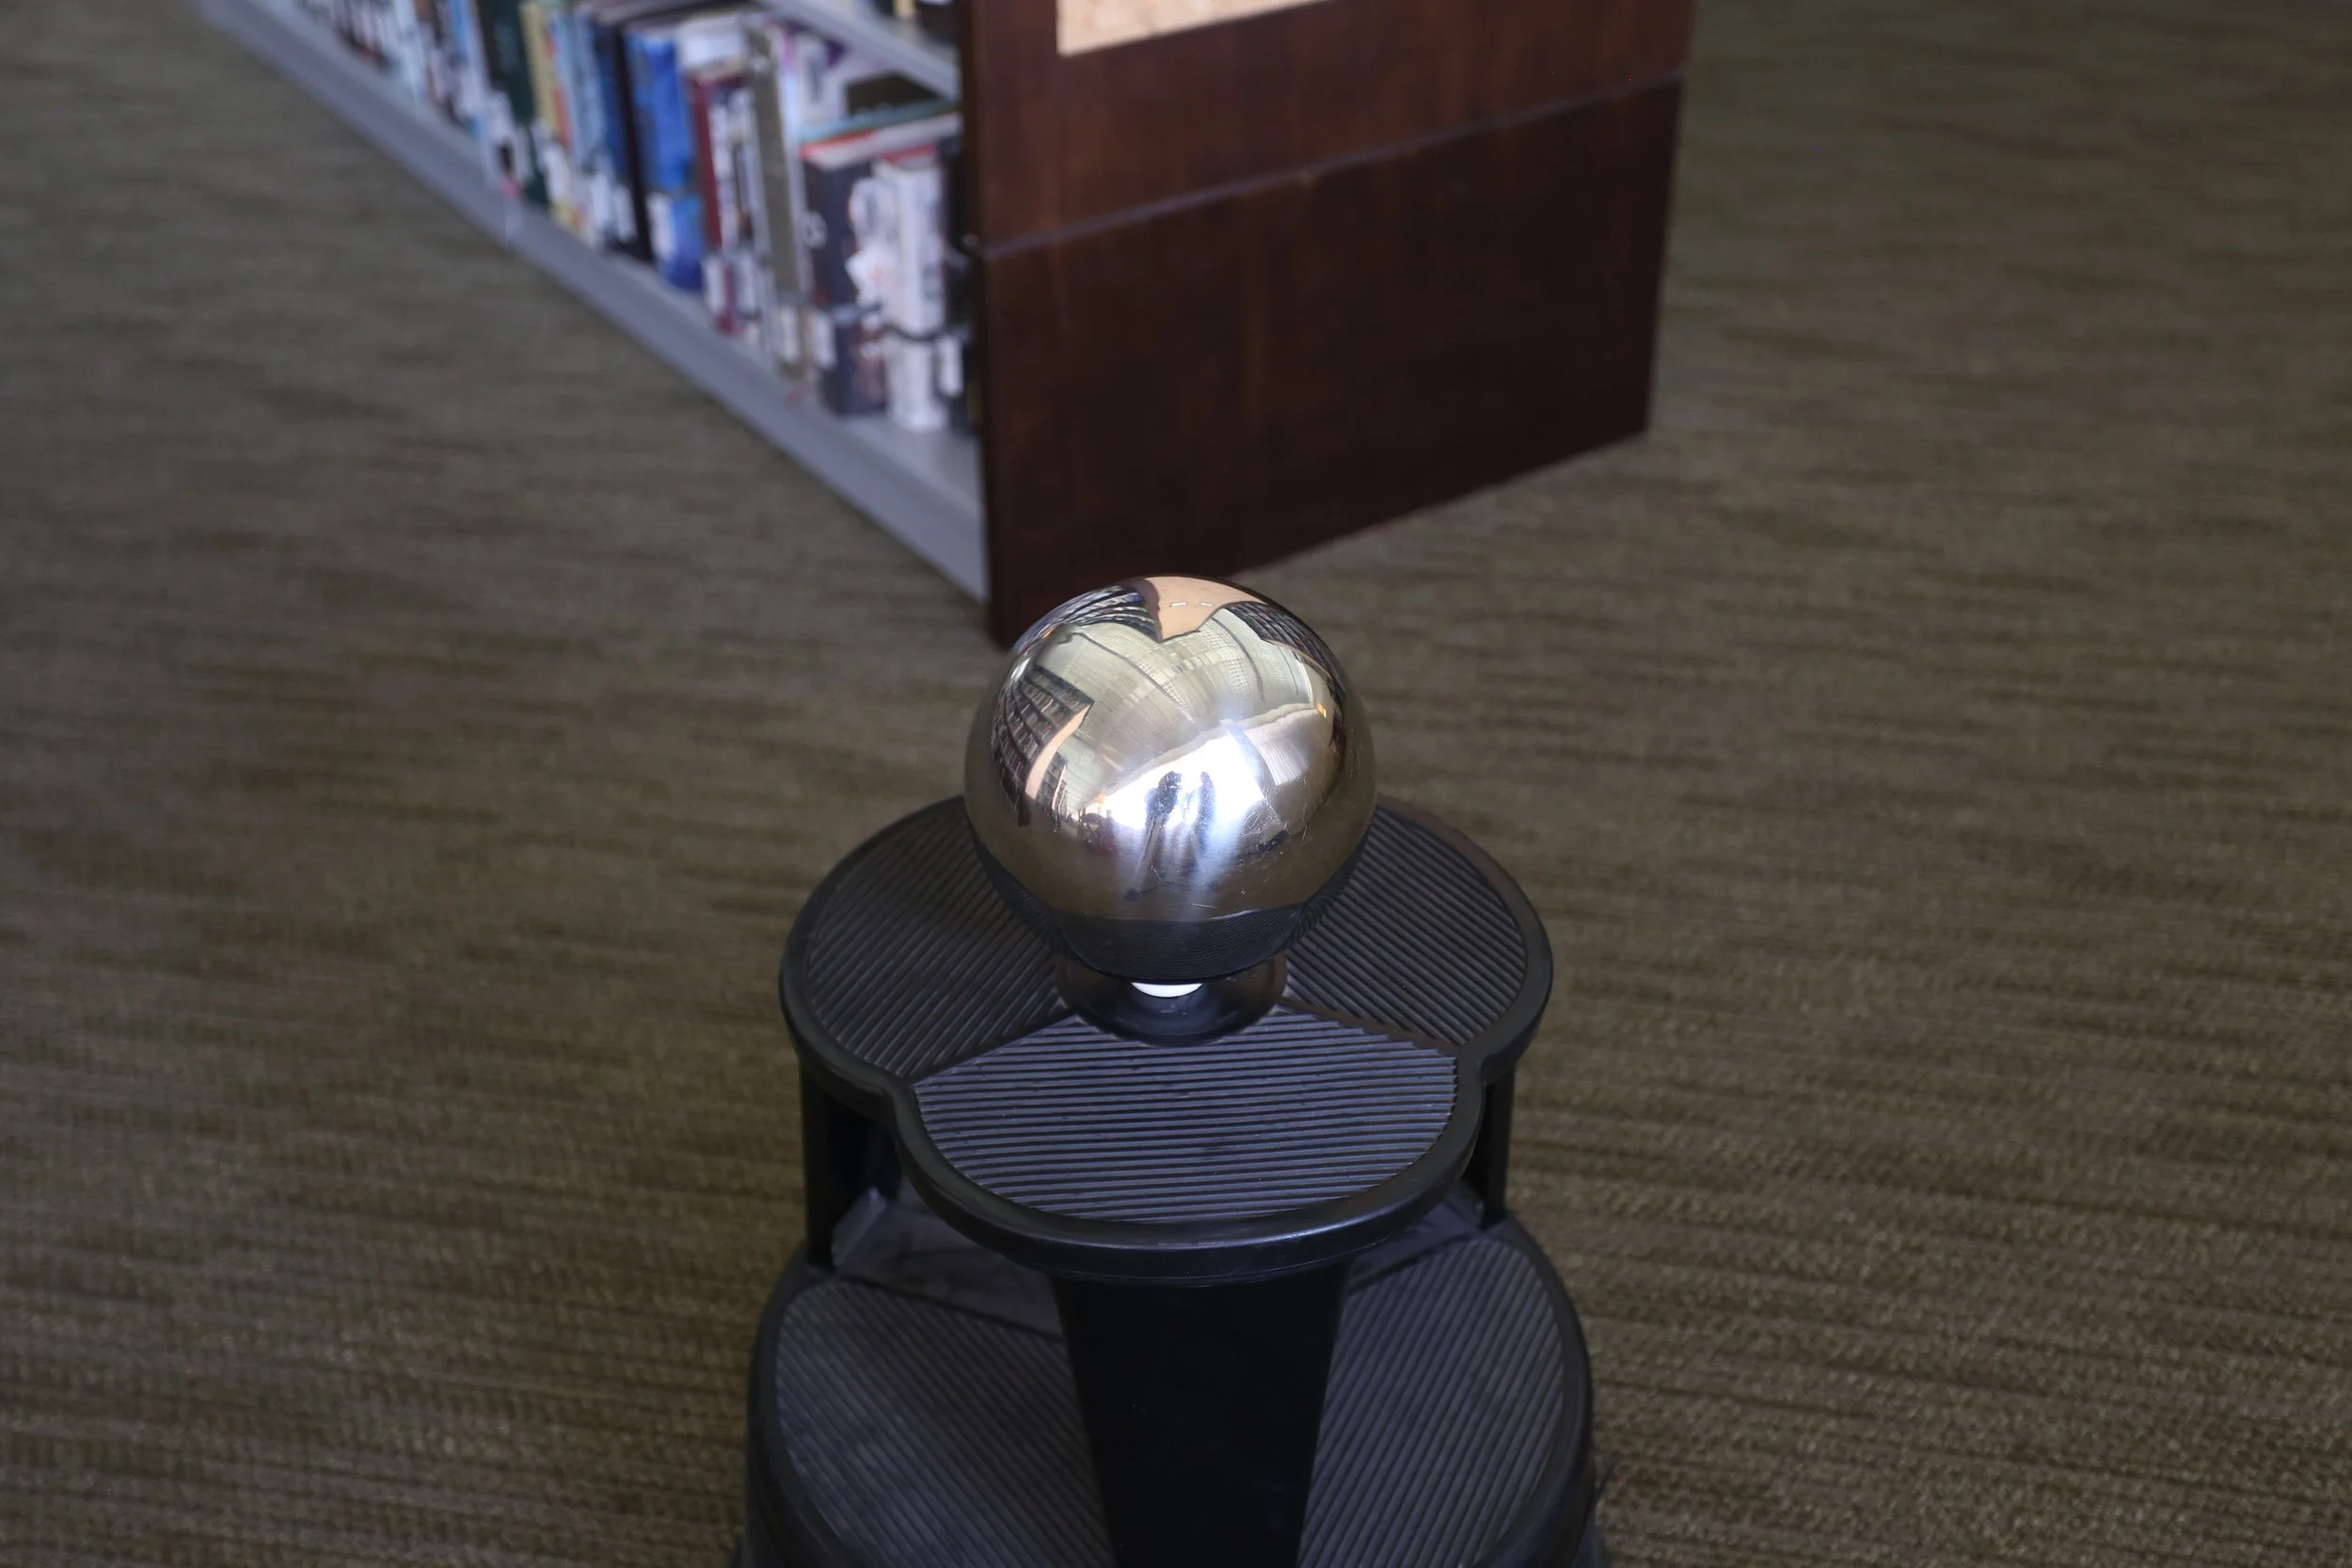
I also found my animations through mixamo. My main character is sneaking against the book shelf and then if I have time I would like to add more characters into the scene too.
Technical Compositing: Week Six
This week I worked on creating layers for the reflection on the ground. I made a mask of where the reflection is then put a mirror shader on the ground plane to get the reflection itself. Then in nuke I shuffled out the mask to create an alpha and applied that to the actual reflection. The corner of the window ledge was also somewhat beveled so I created a cube to use as the ground plane for these layers. This way I could bevel the edge for the reflection without effecting the ground plane I already made.
Here’s a picture of my shadow, occlusion, and reflection being applied to the background. I also used a ramp to adjust the darkness of the reflection as it gets further away.
My shader was also looking fairly solid so I tried darkening the edges of the indirect subsurface to make it look more like my rock. I did this my creating a new layer that had a fresnel type shader on it. Then in nuke I had it darken just the red areas of the fresnel shader. Below are pictures of the fresnel shader and how the Buddha looks before and after it is applied


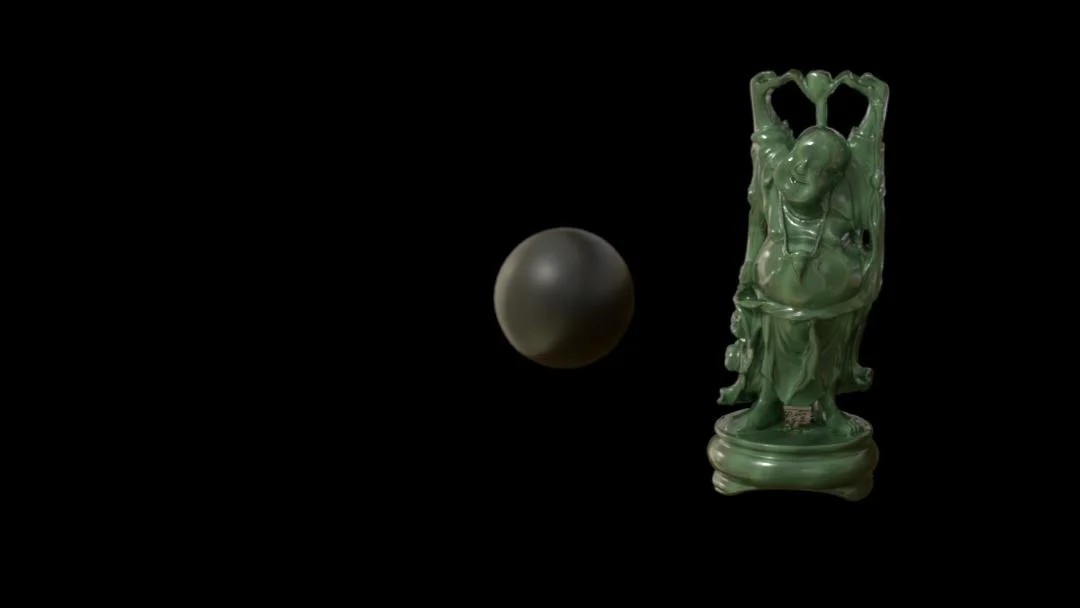
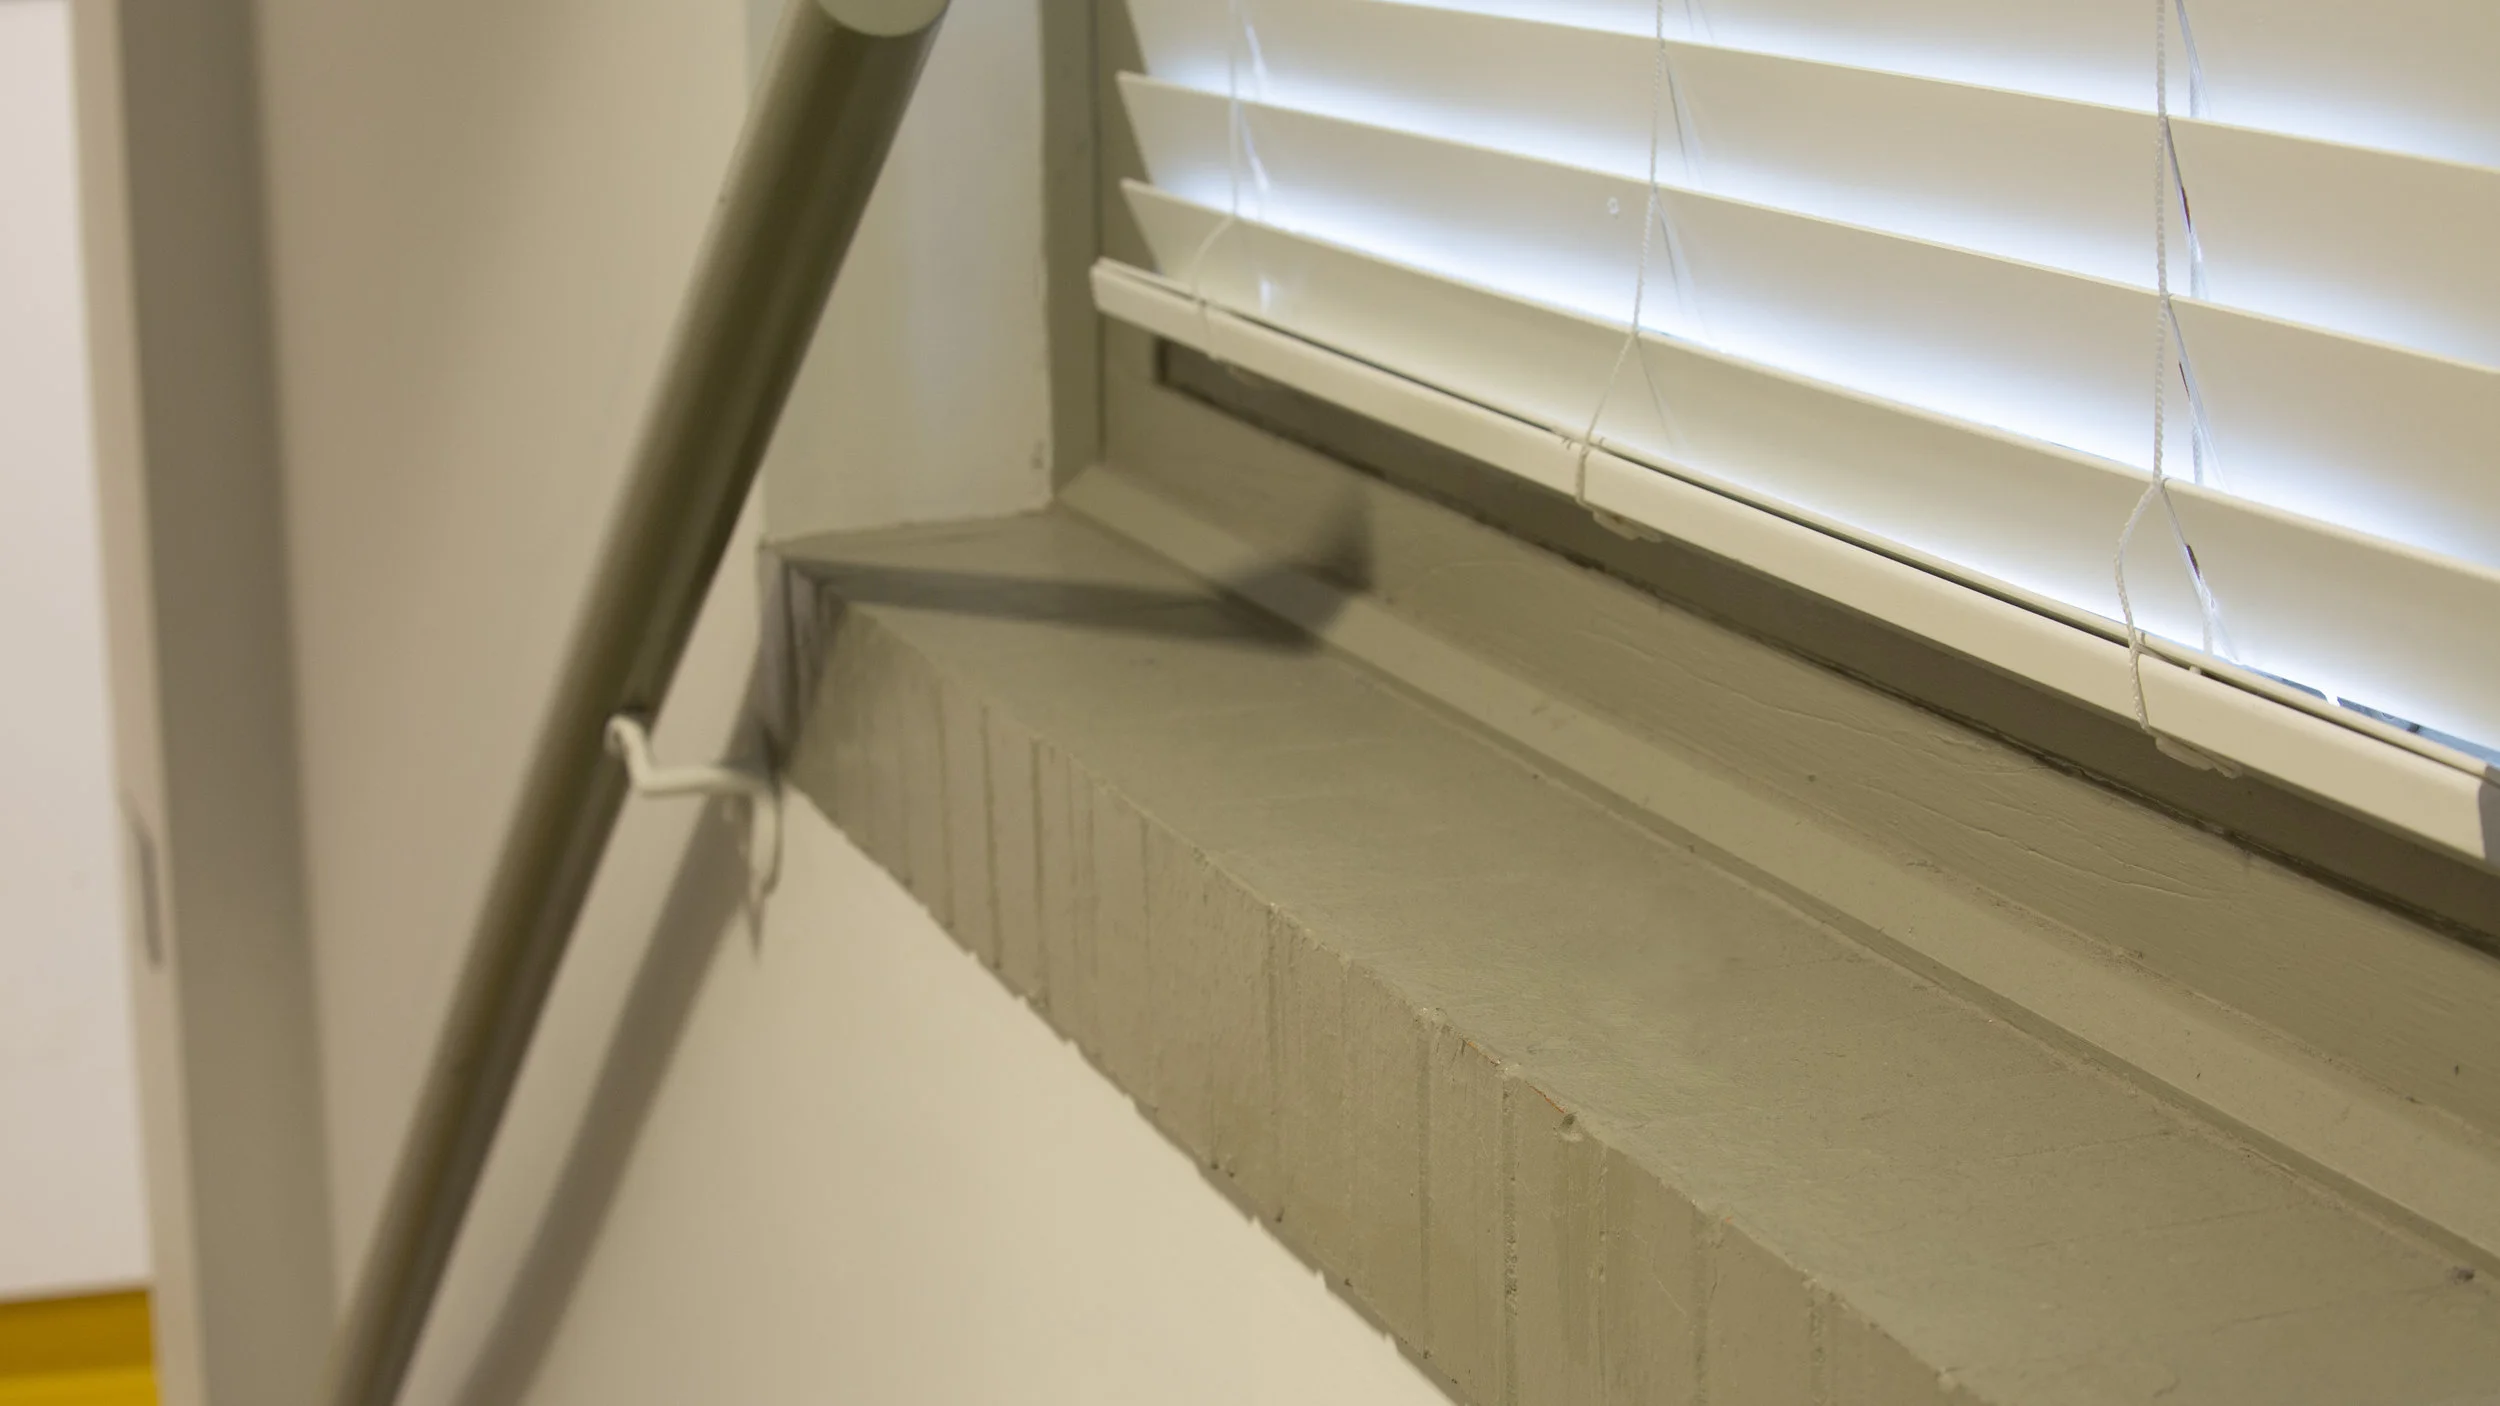
Below is the final results of my project and my node tree for how I composited it in nuke.
Technical Compositing: Week Five
This week we worked more on the shaders of our object. Everyone is using a Stanford model for the object, I chose the Buddha. My rock is more translucent so I’ve been focusing on adjusting the subsurface of the object. I also created a ramp for the subsurface color to try to replicate the varying color in my stone. I added a good amount of values within my ramp to get it looking just right and then added some noise and changed the noise frequency so the ramp wasn’t just plain strips and looked more organic.
I also worked on creating a few different layers this week like my shadow and occlusion layer. I create a shadow mask layer in maya and then put the occlusion inside that layer. I not only have the Buddha in my scene but a white ball is in the scene as well.
I’ve also been working on the different layers I want for my render. I’m using AOVs for the layers dealing with my shader, like subsurface and specular. Both of those aspects are split into their direct and indirect to give more control in the composite.
Technical Compositing: Week Four
This week we started our second project. This project is about shading and compositing objects that have transparency and translucency. We got to pick out a rock to recreate, the rock I chose looks a lot like aventurine but I not completely positive if that is what it is.
I started by taking pictures for my backplate. Unfortunately it was raining on the day I had the camera so I had to take my pictures inside. I used the integration kit and got all the pictures I needed with the chrome ball, grey ball, and cube. I also took a picture of my stone in the environment.
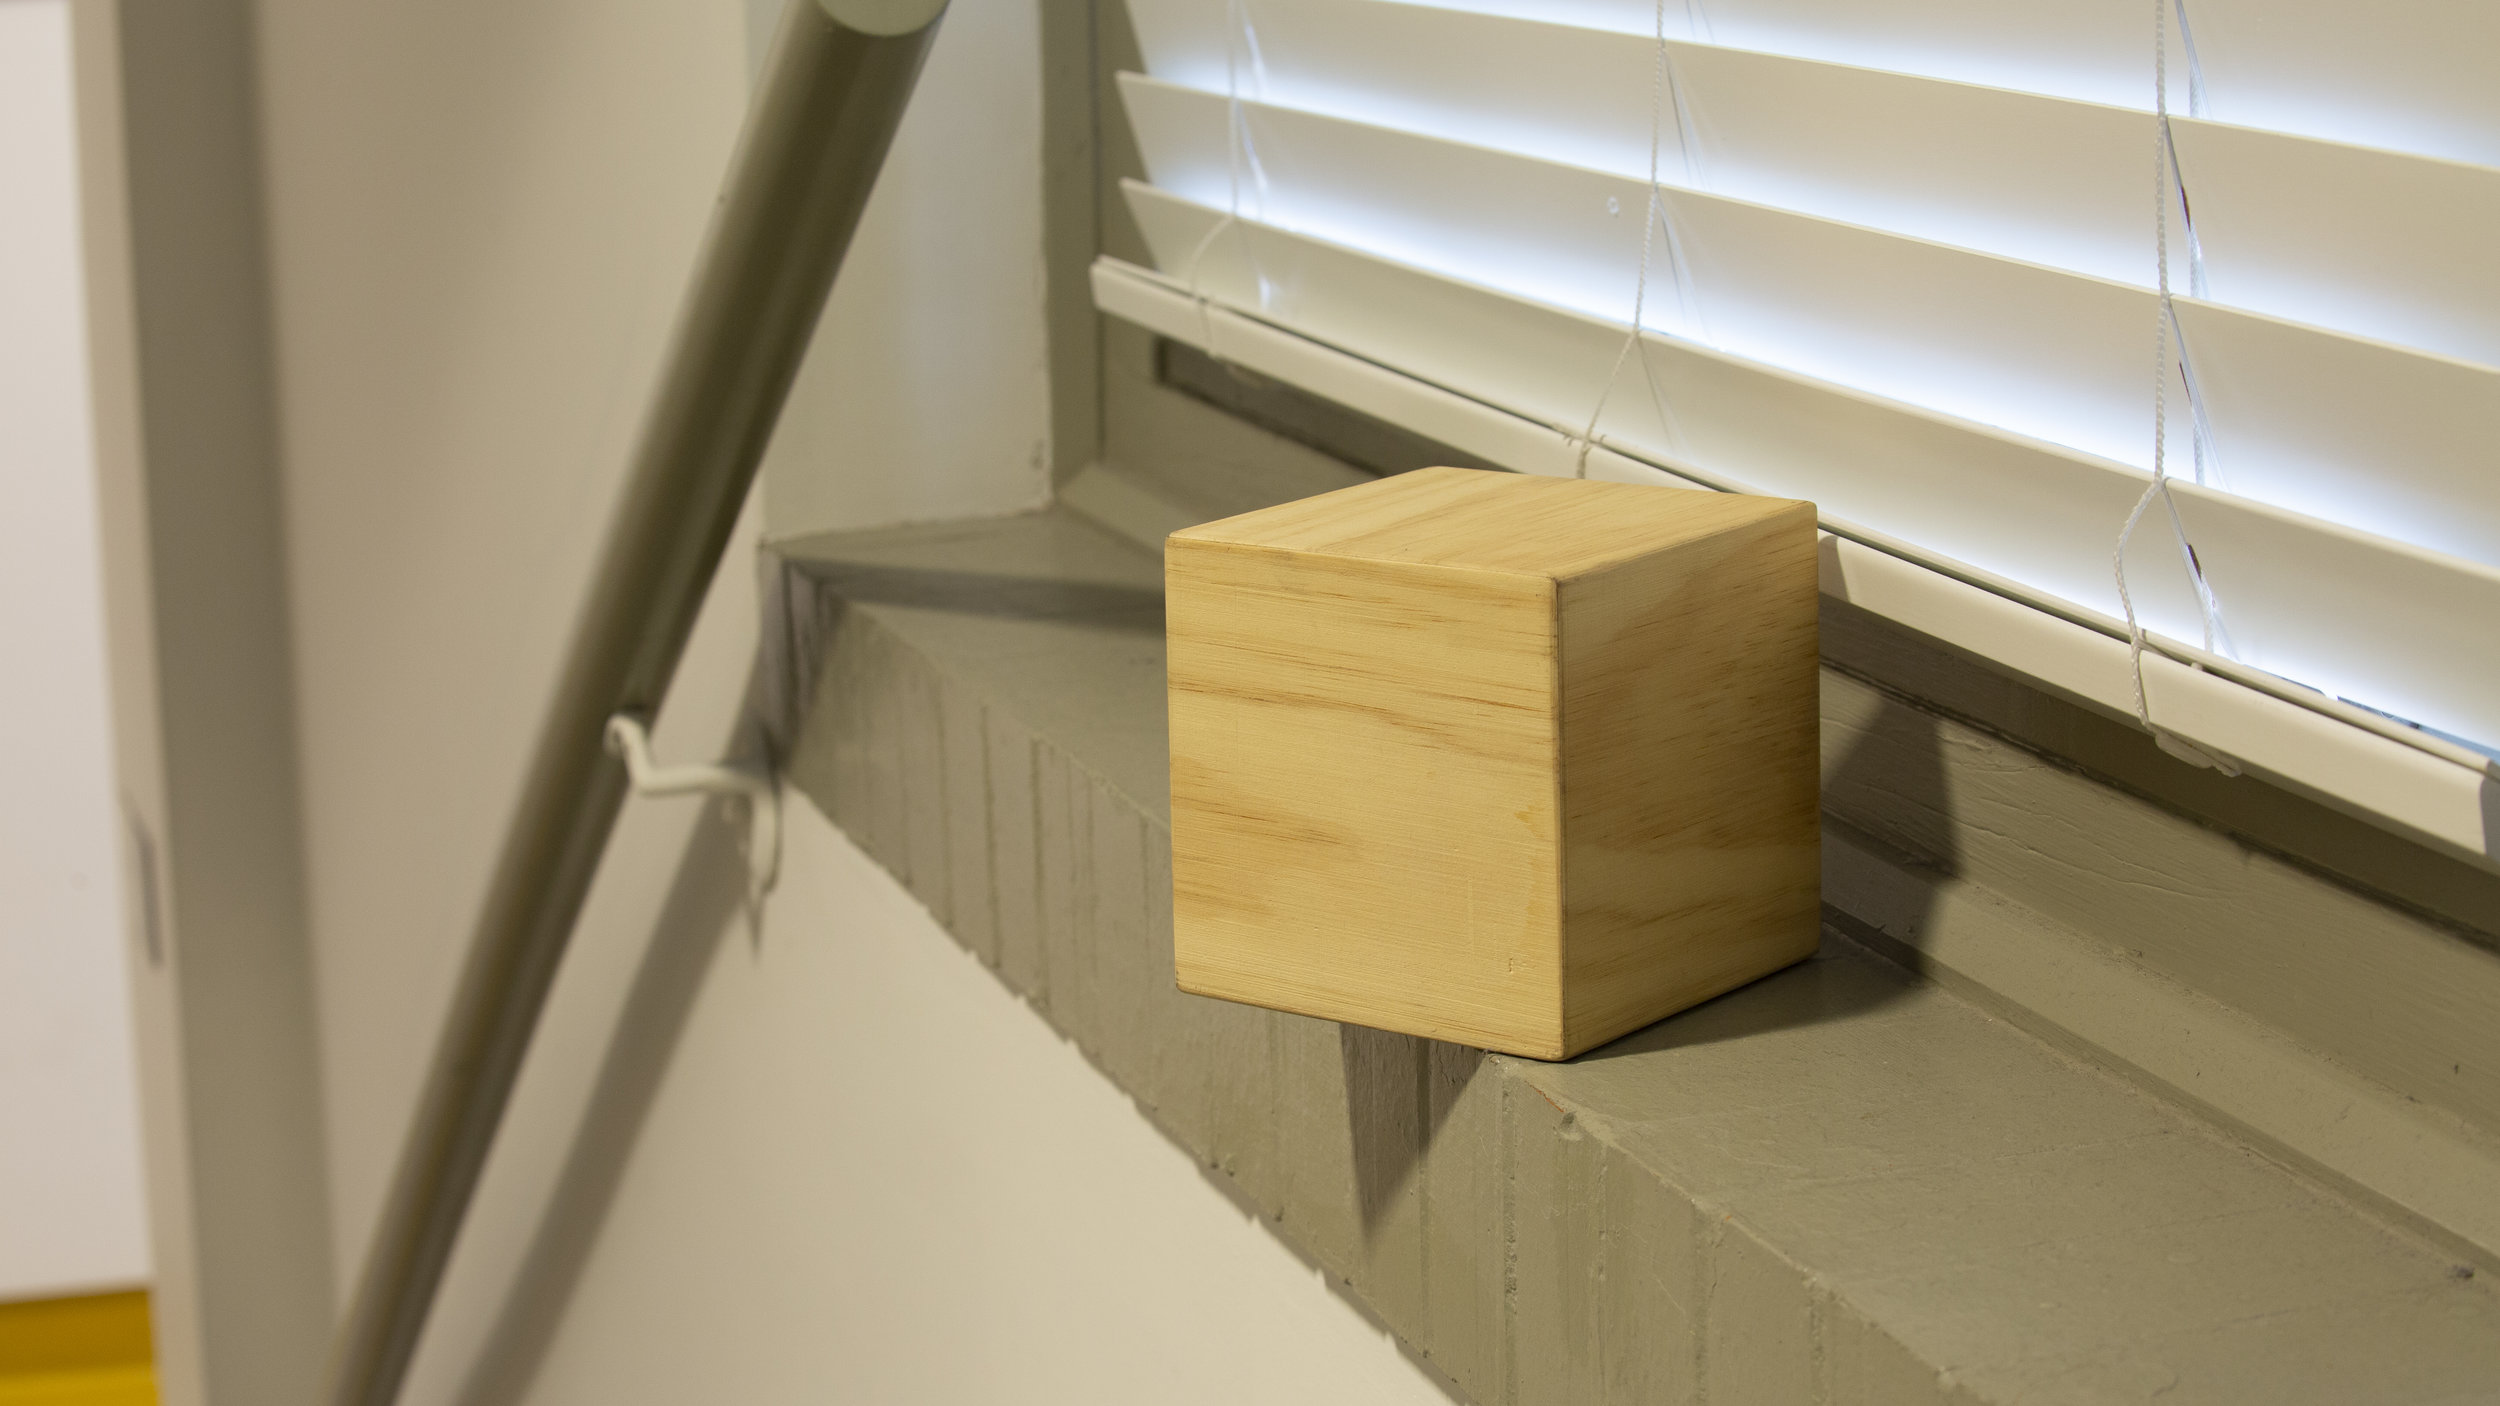

After that it was just a matter of setting up my scene. Since my ground plane is a window sill I had to model some geometry so that the shadows will fall correctly.
Technical Compositing: Week Three
This week we all worked on adding our objects to our scenes and making sure everything worked and looked right. For my corks in the scene I wanted to use rigid body effects so they could roll and bounce through the scene. I struggle with it at first but was able to get them working after multiple tries. I also animated my ball to roll through the scene so you could see it pass through the shadows and made it a passive rigid body so it could interact with the corks. I also cleaned up how my nuke script was set up. We set our renders up with multiple layers in order to have more control in compositing. Here is my node network for this composite.
I had my render split into 8 different layers. On the left side of my graph is where I assemble the layers making up the objects. On the right is where I assembled the background and shadow layers. For the layers on the left it’s broken down into direct diffuse, direct specular, and indirect which are all breaking down the different types of light on the object and shadow projection, bounce shadow and ball occlusion which are all being used as masks for color corrections, usually to create shadows. I also used the indirect’s alpha to fix a premult issue I was having which is happen at the bottom of the left graph.
On the right side I have the clean plate and the clean plate in complete shadow. Then the shadow pass and ground occlusion renders that are being used to create the shapes of the shadows. For the shadow pass its being used with the full shadow picture, its essentially placing the picture of the ground in shadow inside the alpha of the shadow pass. Then I used a color correction to make it match more closely and a ramp since there is a slight variation in the darkness of the shadow of the wheel, it seemed to be darker toward the bottom and lighter towards the top. The the ground occlusion is just being used the darken that shadow when it’s closer to the object. Originally I had the occlusion only inside the shadow pass but I found it was giving me really sharp edges where the shadow pass would cut it off. I felt it looked much better not being held in by the shadow pass.
Here is the final render of the whole project.
Technical Compositing: Week Two
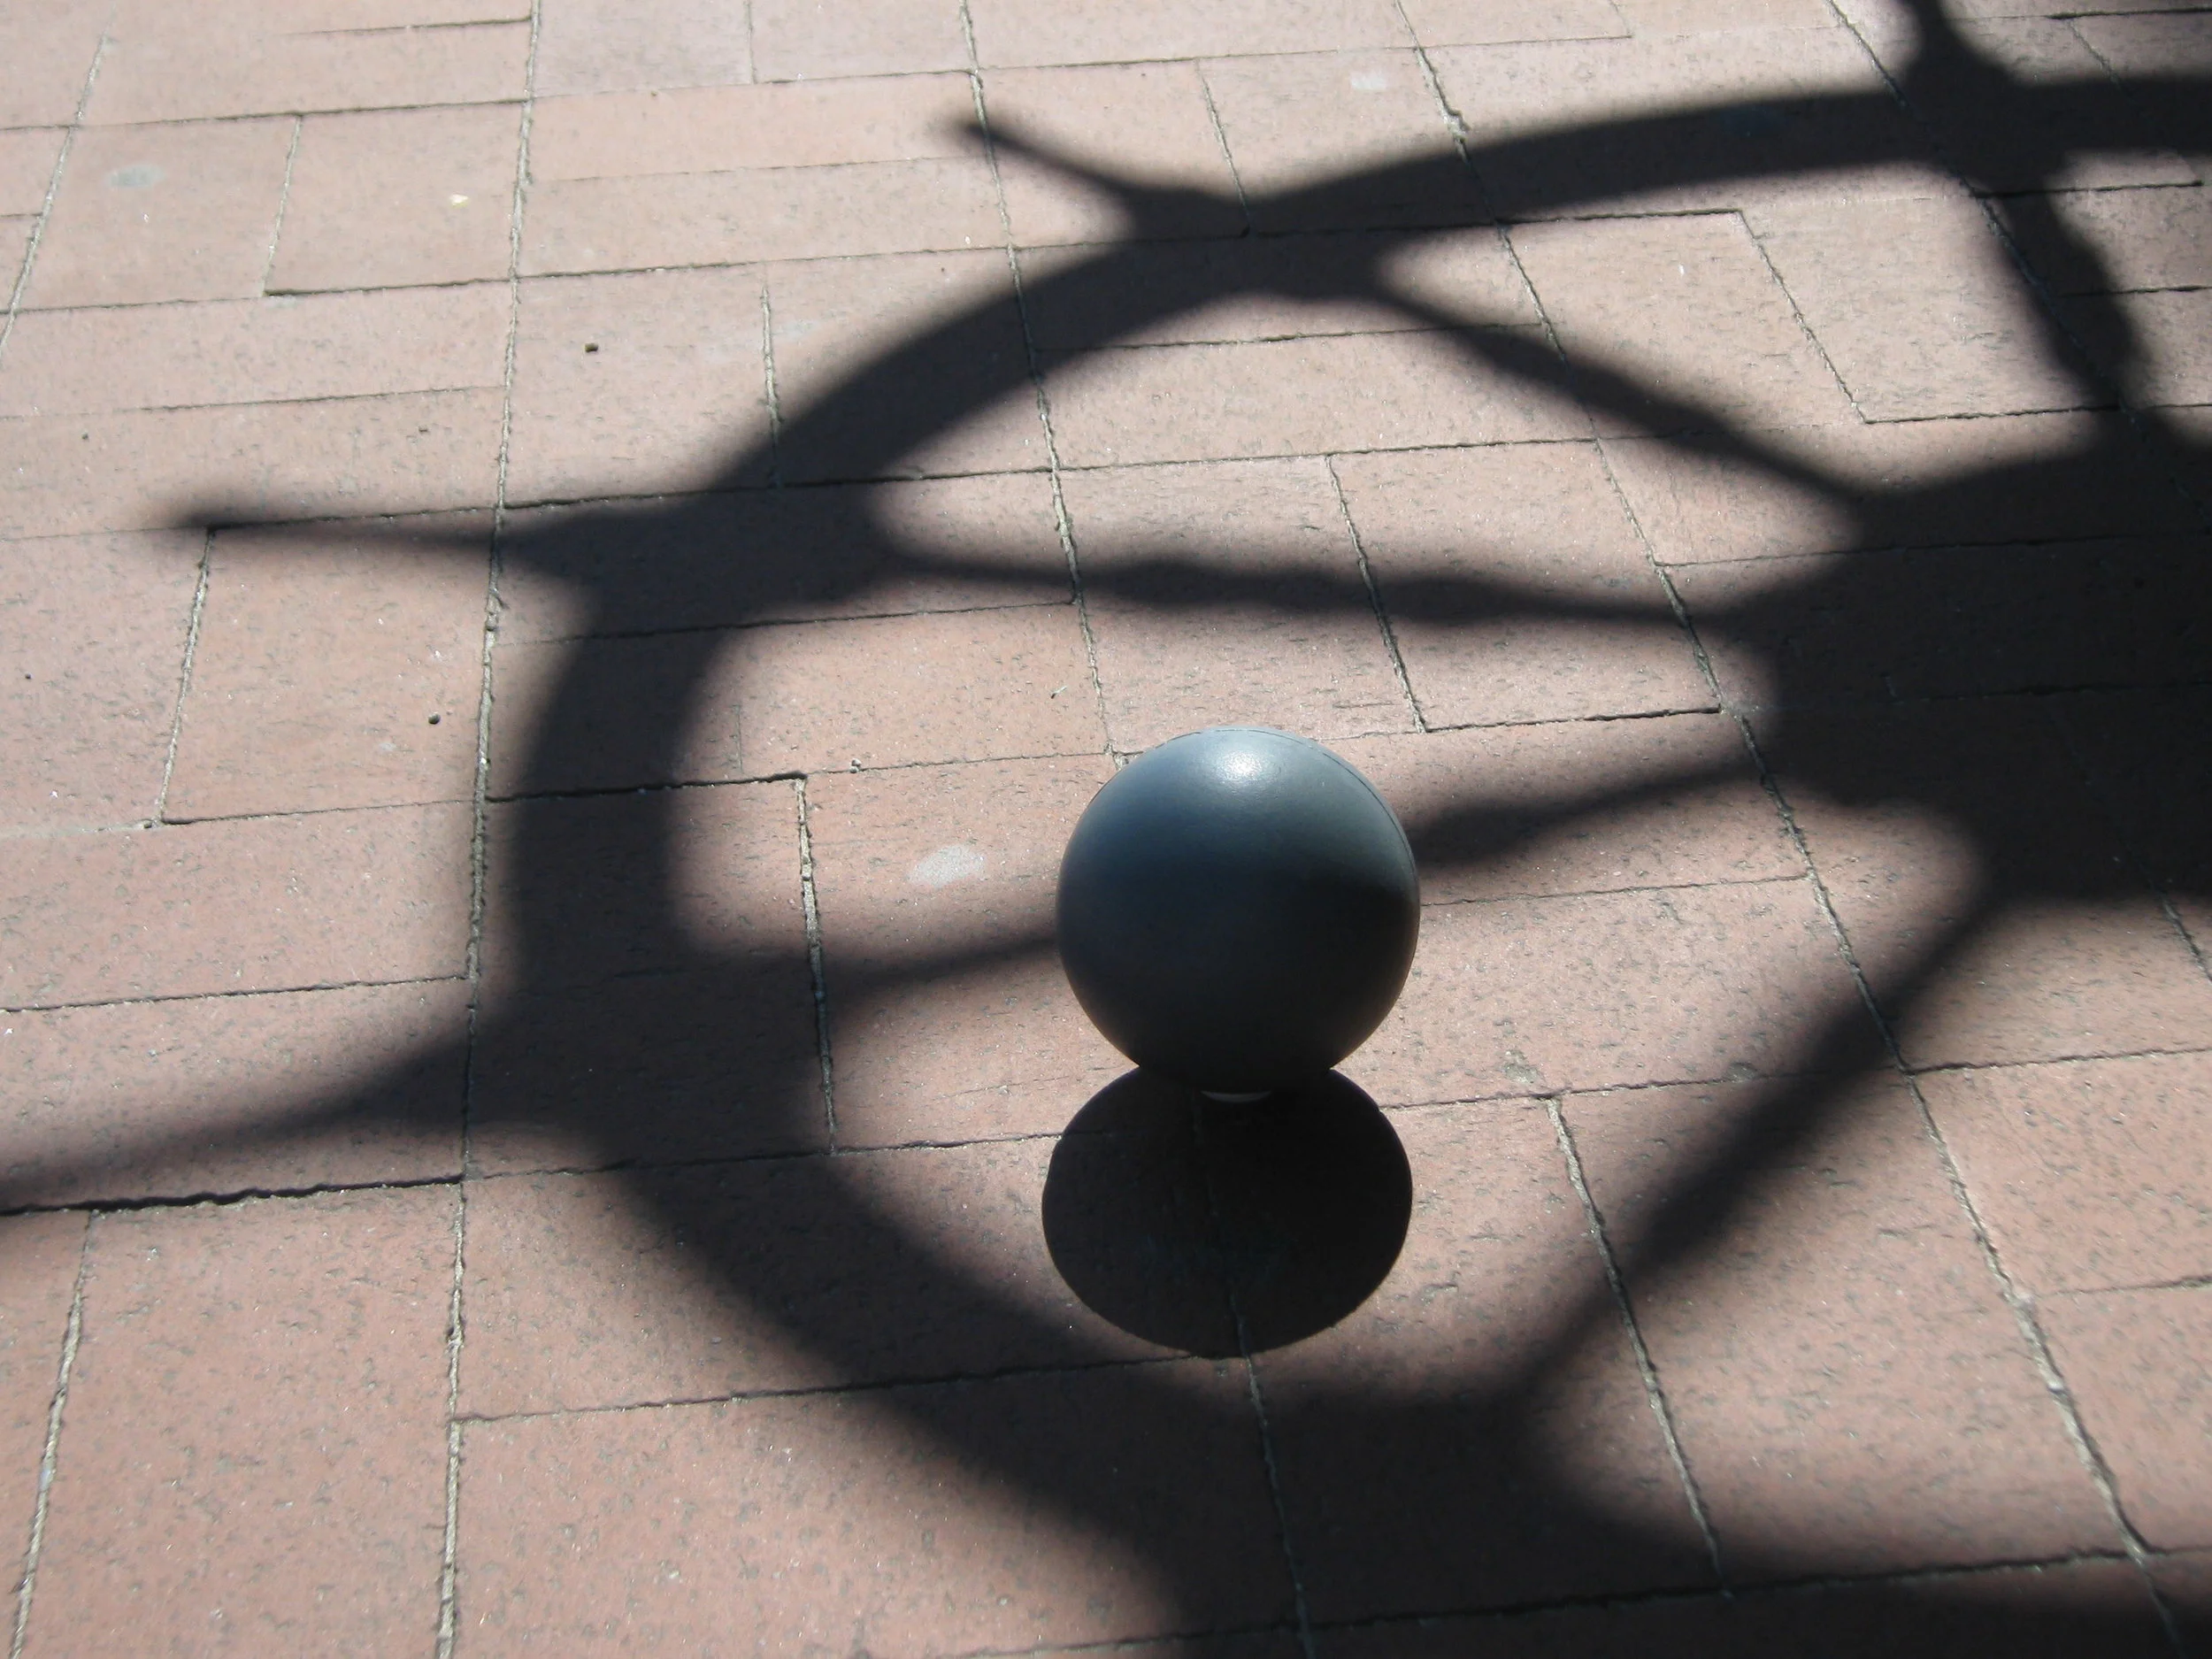
This week we focused mostly on setting up our light to match the one from our picture. Here is the picture I decided to work from and the clean plate for that image.
After setting up our main light and render layers for the scene the next step was to figure out how to get the shadows onto the sphere and object. In order to do that we create a mask from the clean plate and project that image from the light. Here is my mask and projection from the light.
My scene is back lit and I felt like that caused some problems with my shadows on the sphere but they were less noticeable on my corks. The shadows seemed to be wrapping underneath the sphere but if I looked through the light projection it made sense that the shadow would be there. Here are pictures showing a shadow from the angle of the light and the render camera and you can see the shadow wrapping underneath in the rendercam.
I was also able to find a seamless cork texture that work well with my cork model.
Technical Compositing: Week One
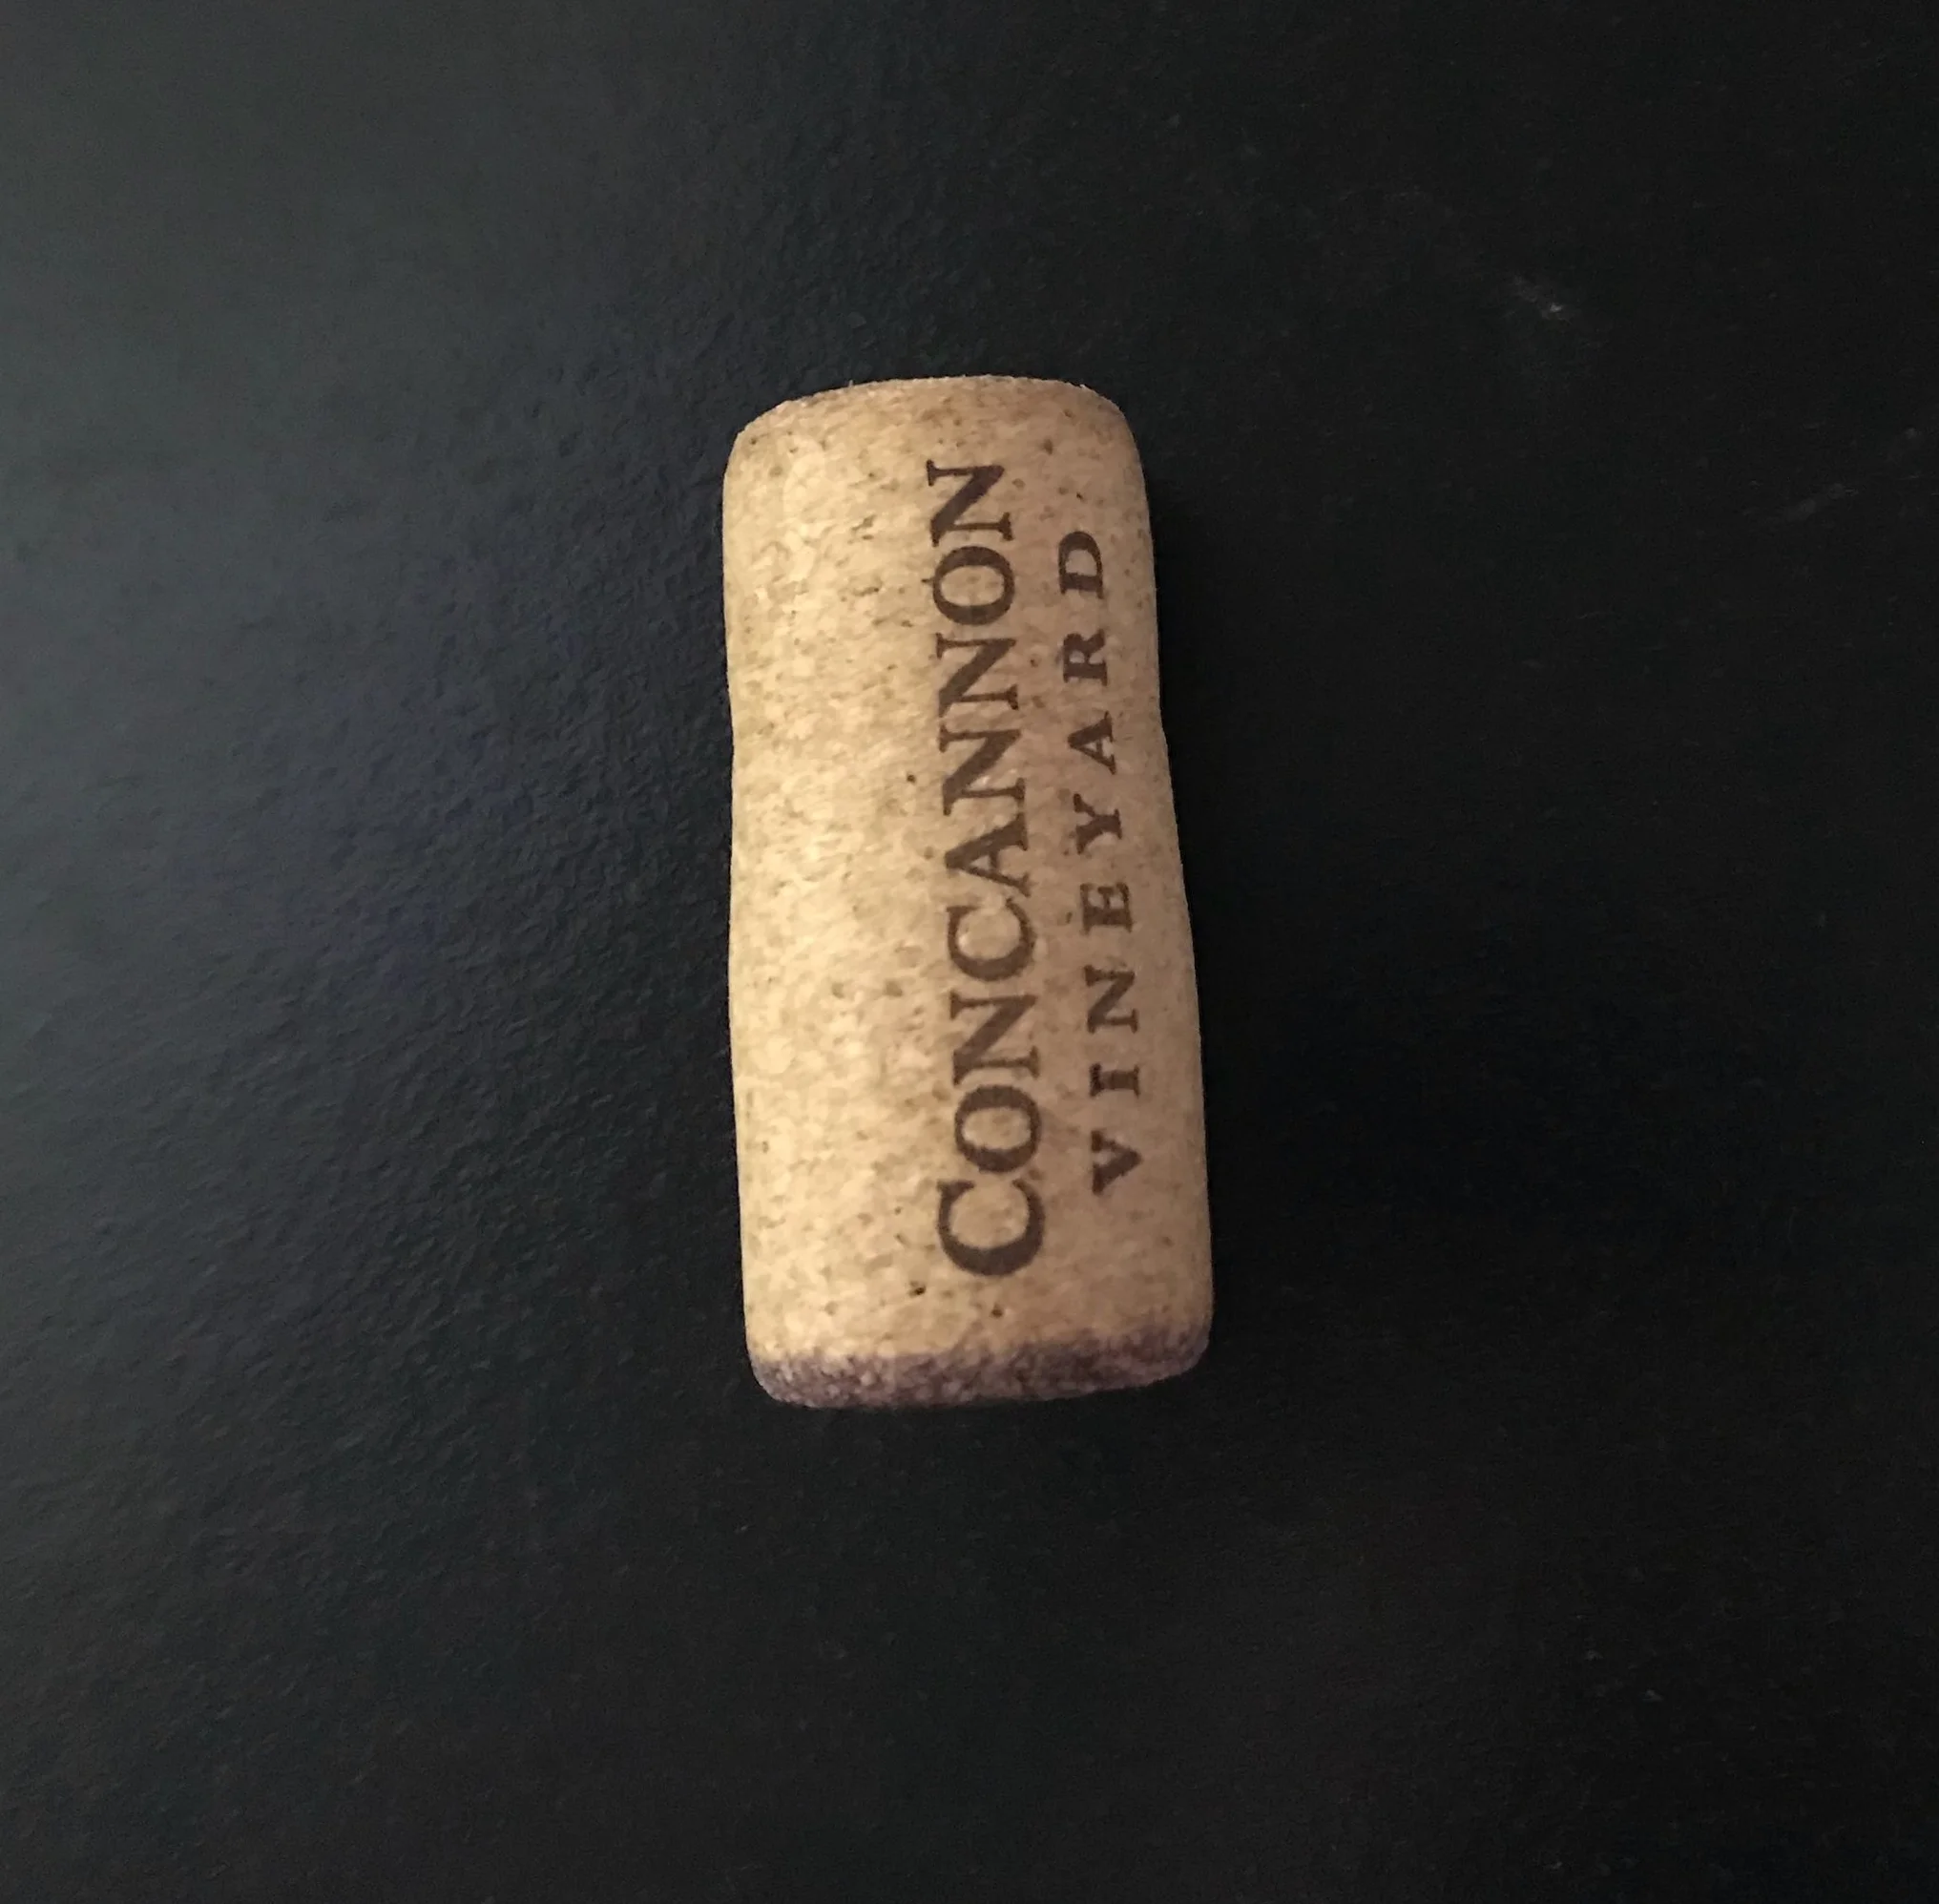
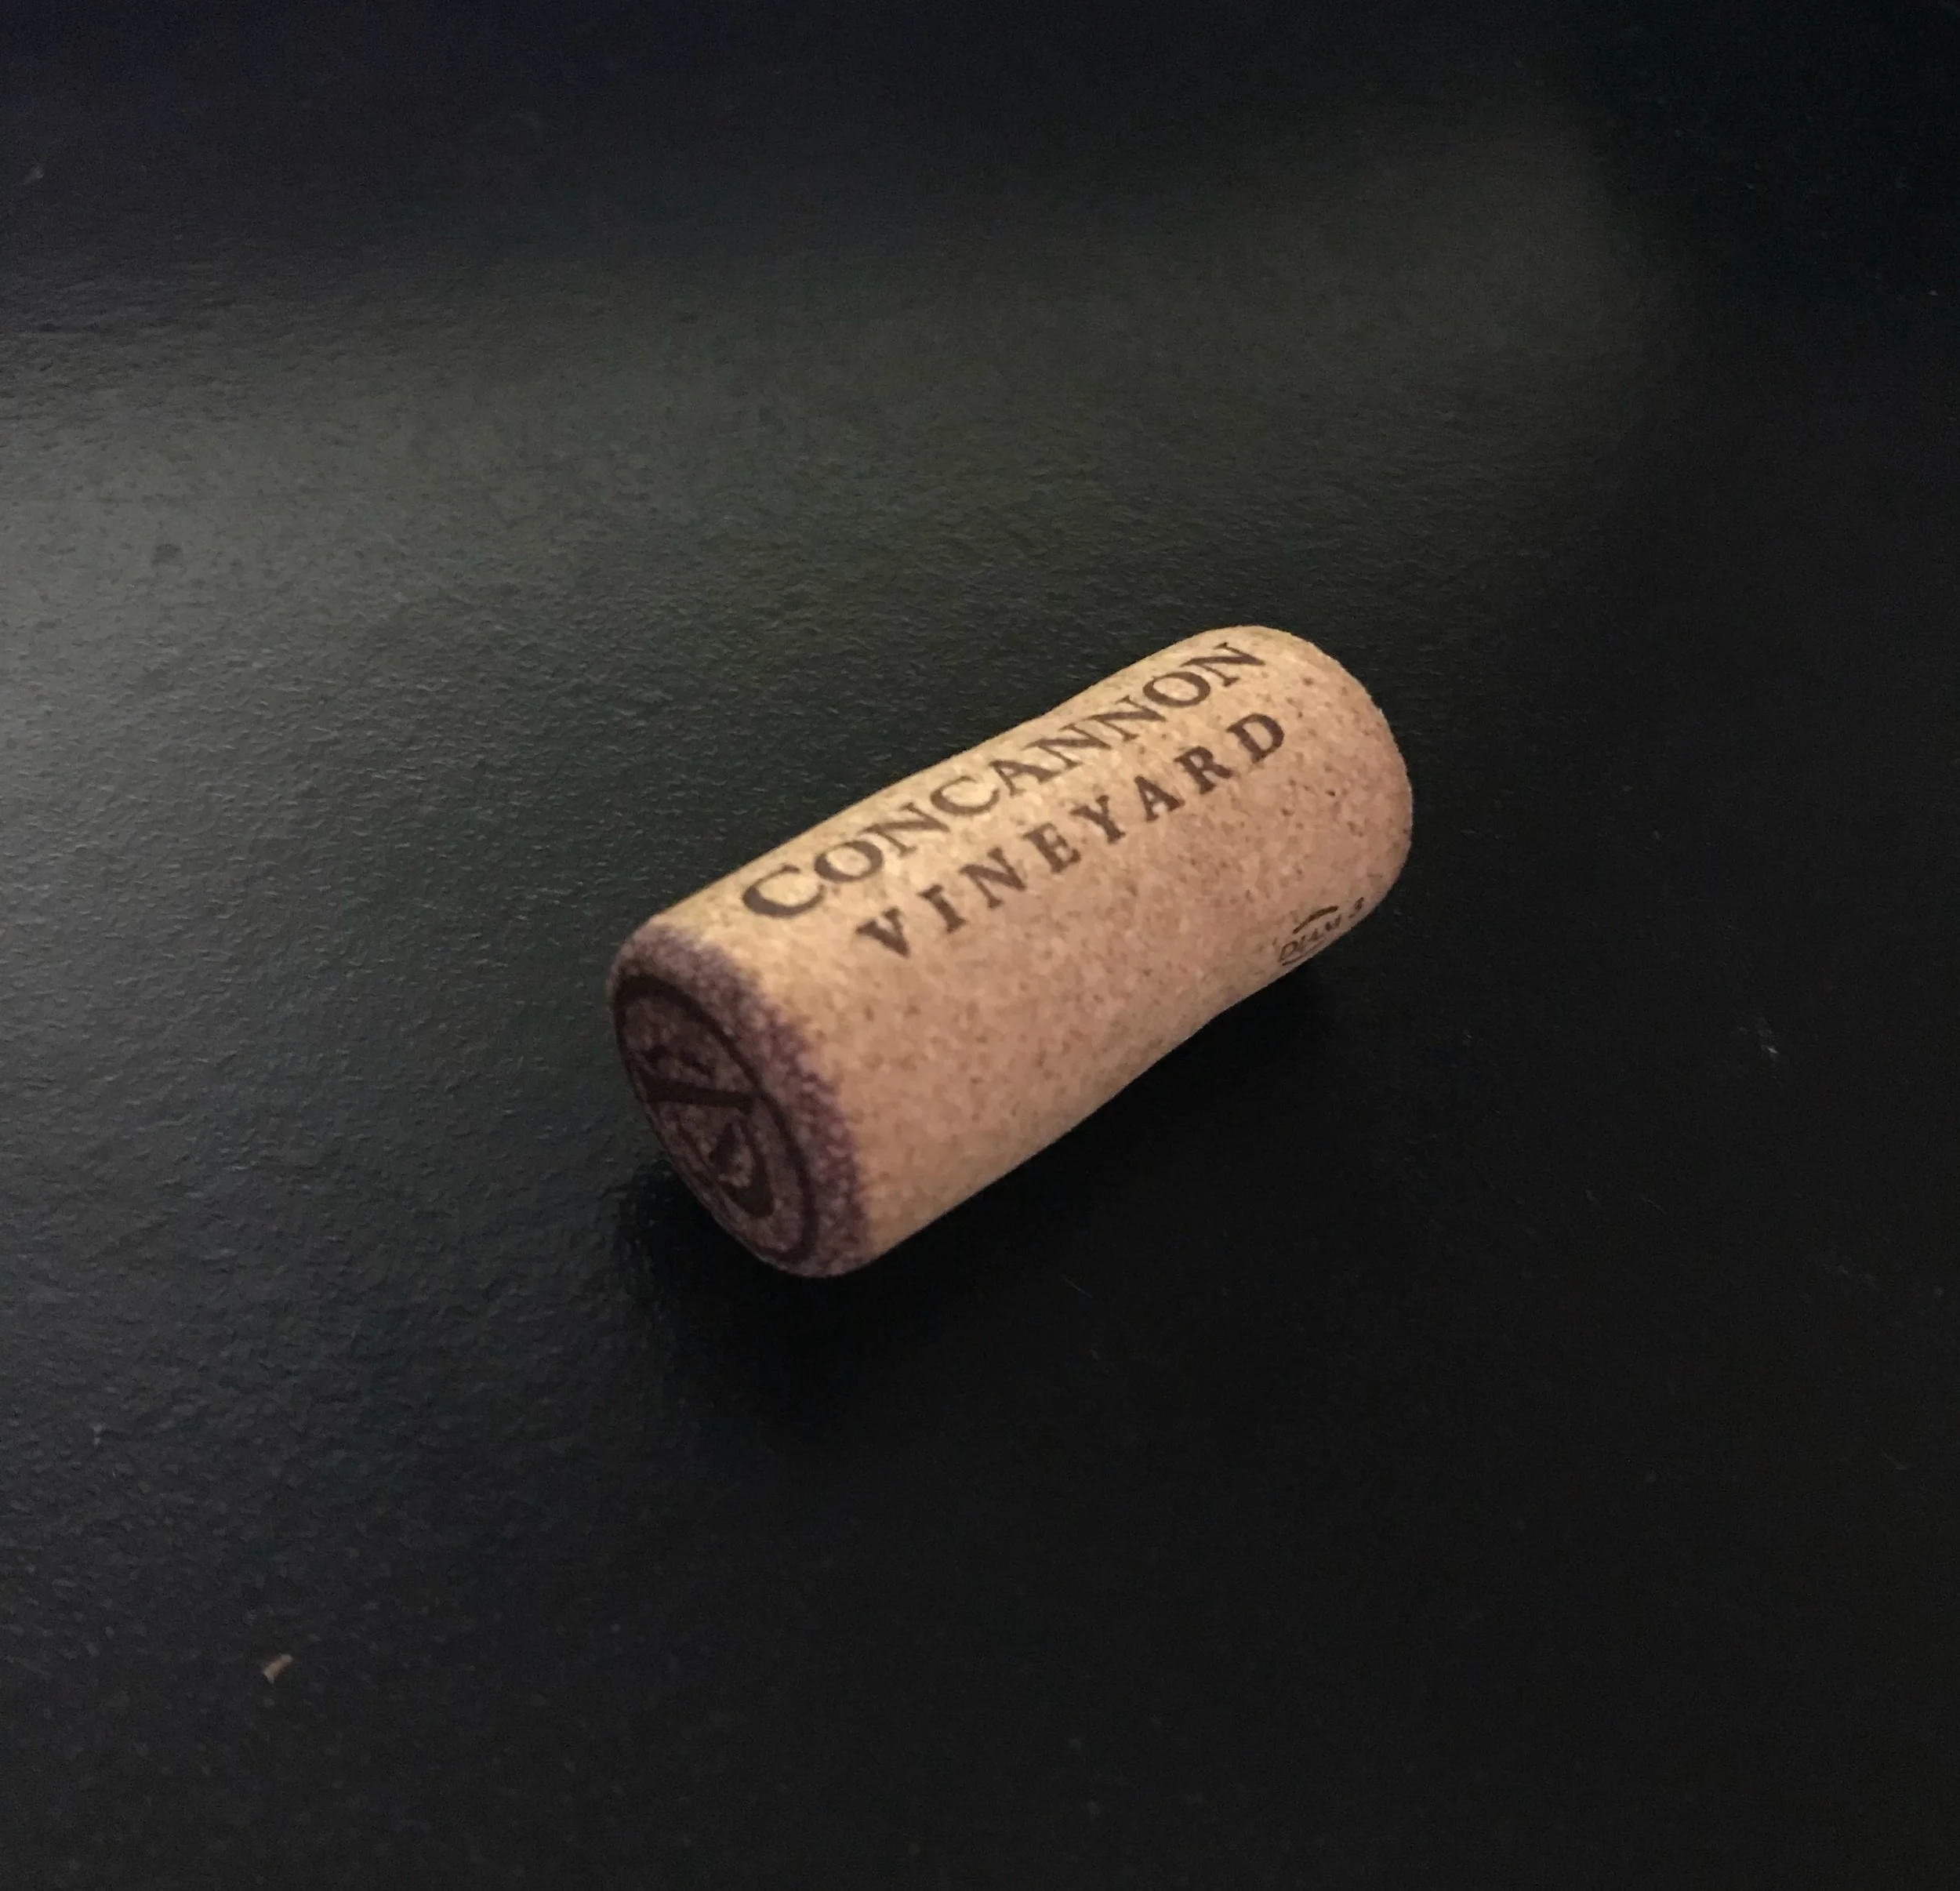
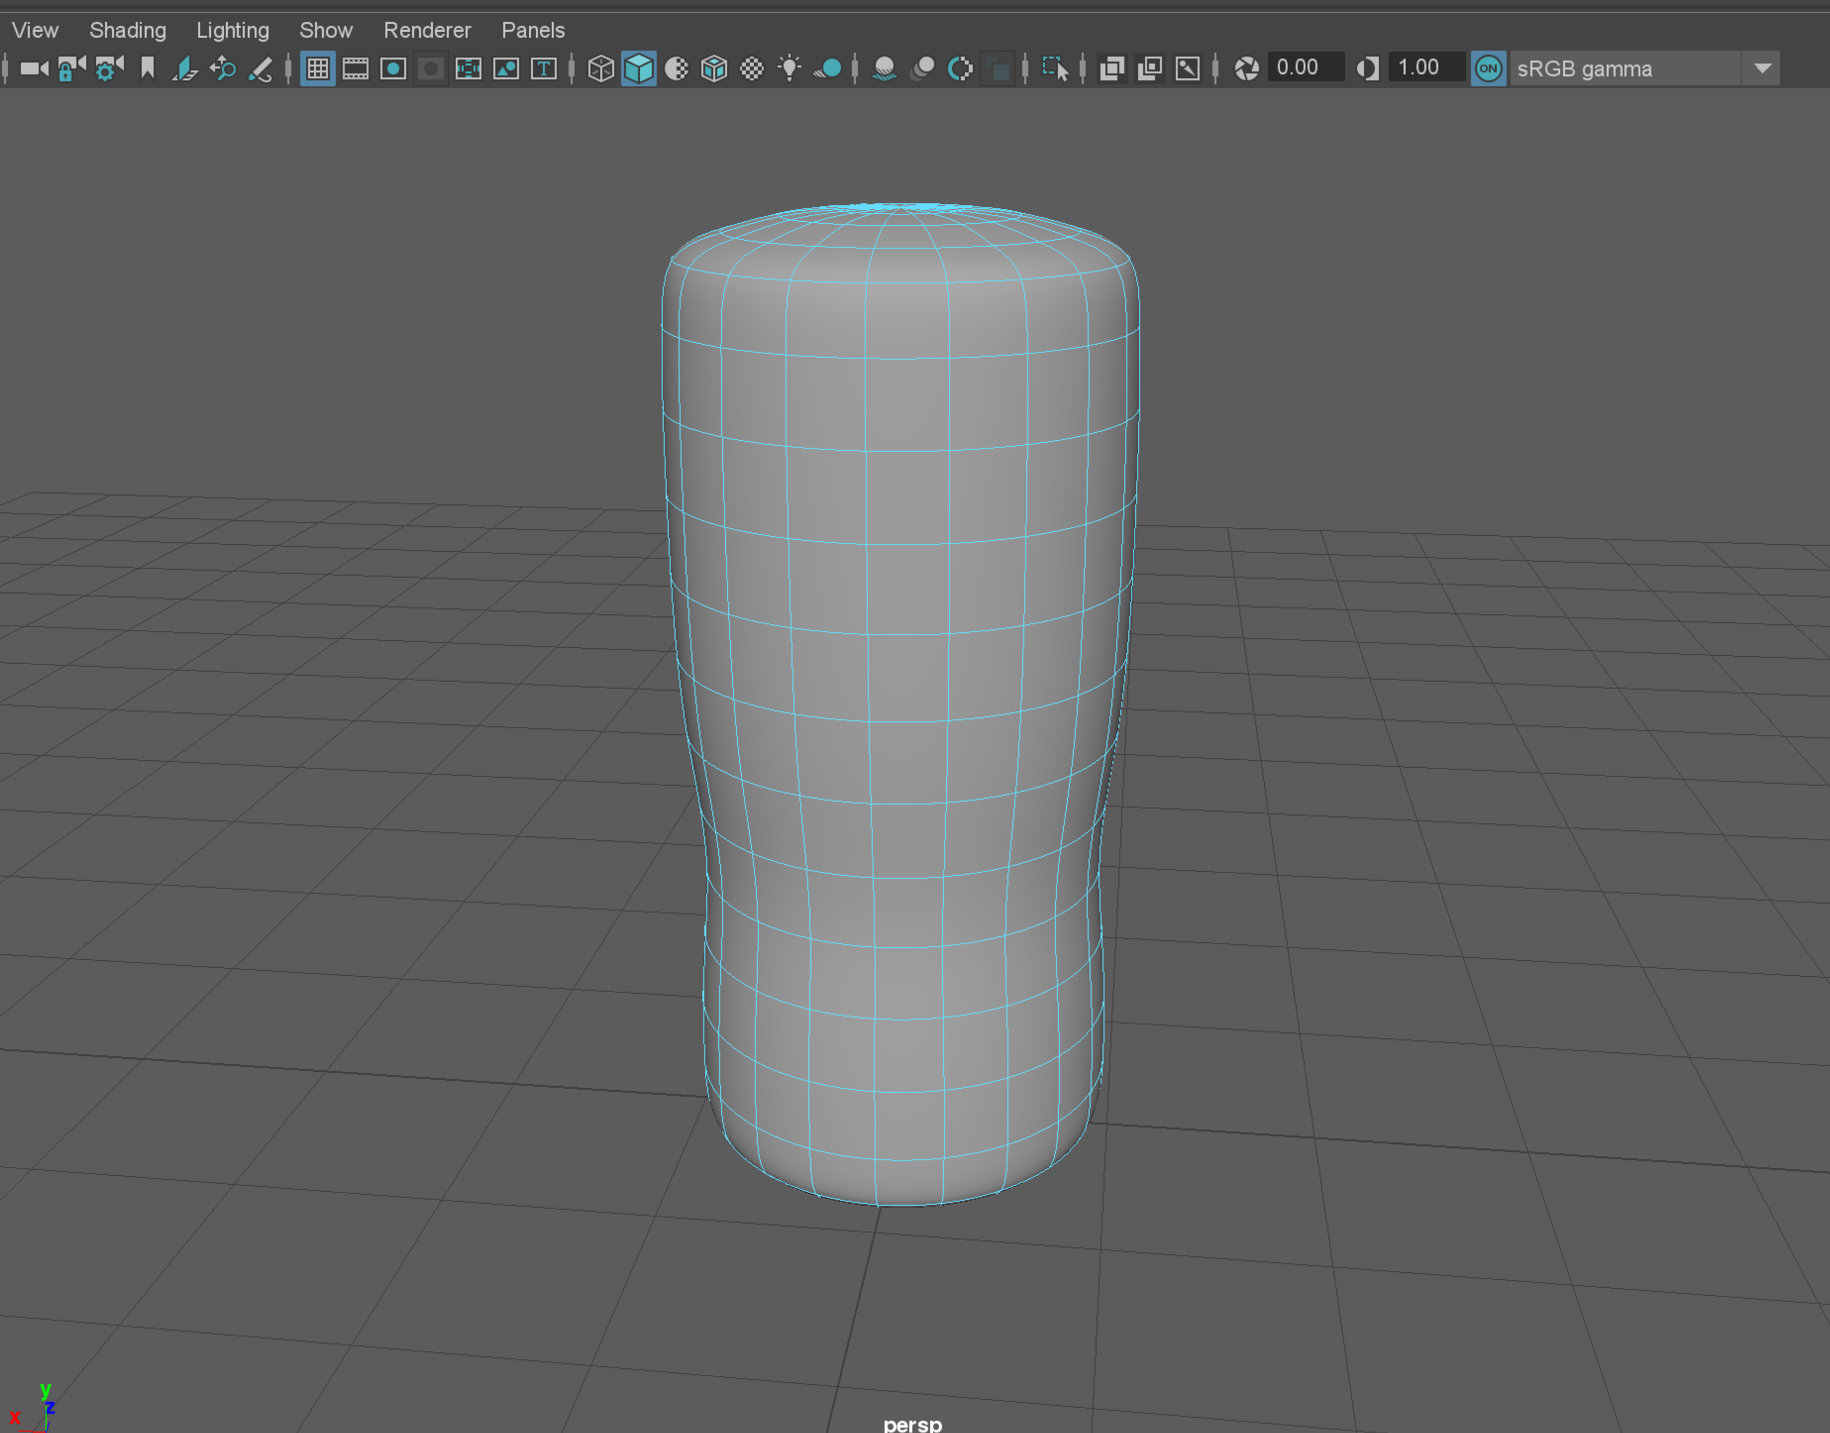
For our first project in technical compositing we need to create an object that can roll through a scene. We will have that object roll on a back plate that has shadows so the object can roll from the light and into the shadow. I thought a cork might be an interesting object so I took some pictures of a cork I had that I’m using for reference and I also started doing a basic model of the cork. I’ve also found a cork texture I’ve been using for testing but I need to work on the placement of the texture and the shader more.


