This week we worked on getting a composite with everything we have so far so we can really start figuring out the changes we need to make. This is our most updated version of the shaders and it has the particles from around frame 140 to the end. We plan on adding particles in the earlier parts and I’m still working on getting the day to night right. The shadow for the car also needs fixing and there are somethings we’d still like to add, like light from the headlights and background tire geometry for the particle light to shine on.
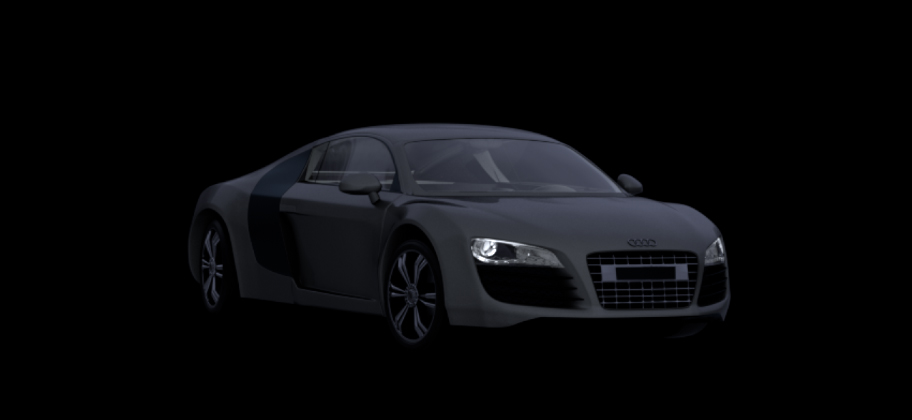
I also have some of the different layers were using for the car below. Some of them include AOV’s for the car and the reflection layer we’re rendering out of houdini to add in the reflection of the particle’s light. I also have a video of the car composited alone without the particles.

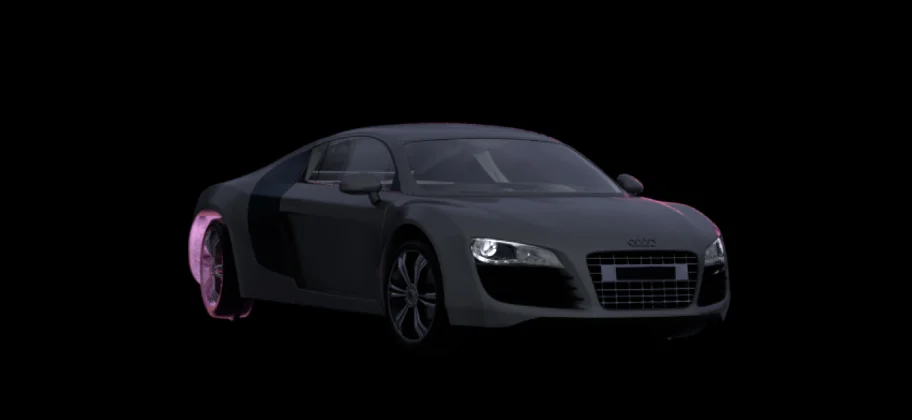


I created an alpha channel for the grass which I show how I use it to put it over the car below. I also use the same method to put the tree over the dragon. If I have time I’d like to try to see if I can animate the grass and tree to react to the motion of the flying and driving happening near it.


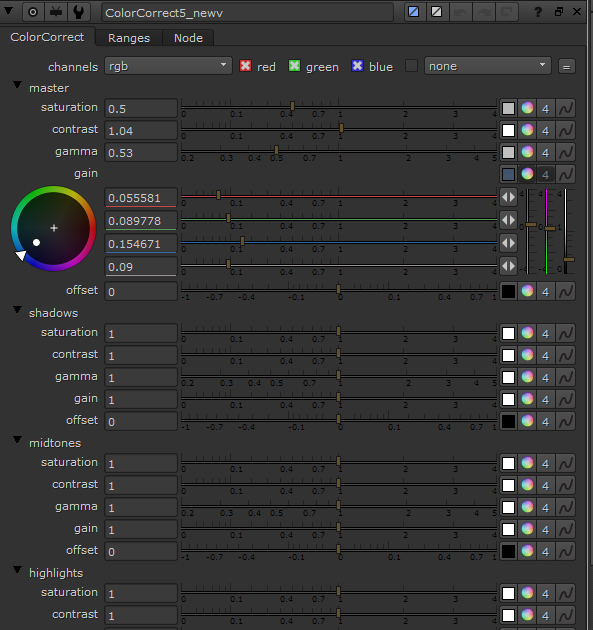
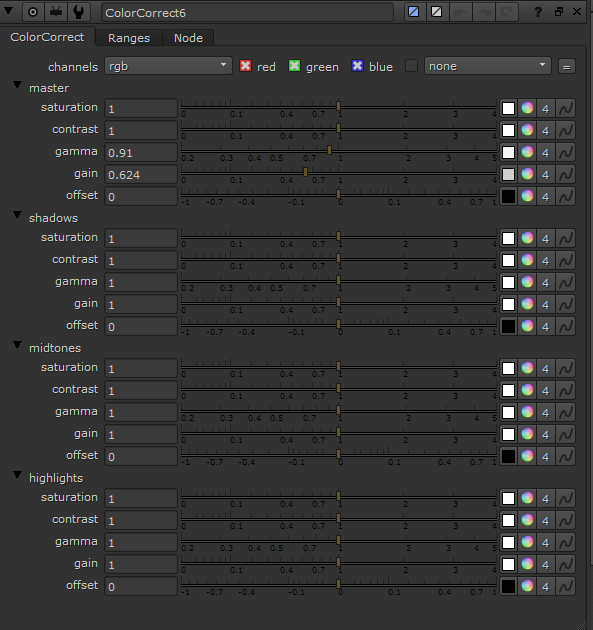
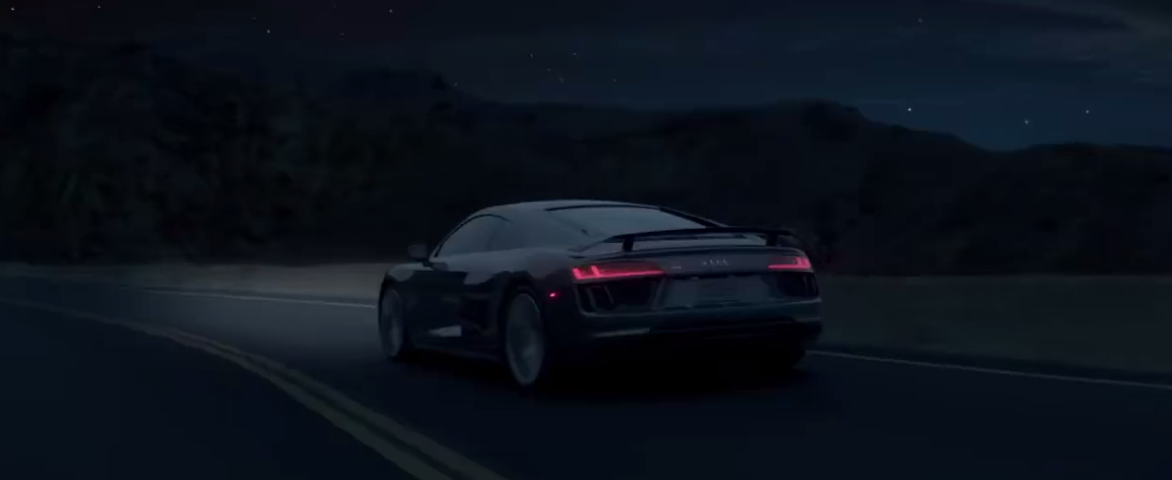
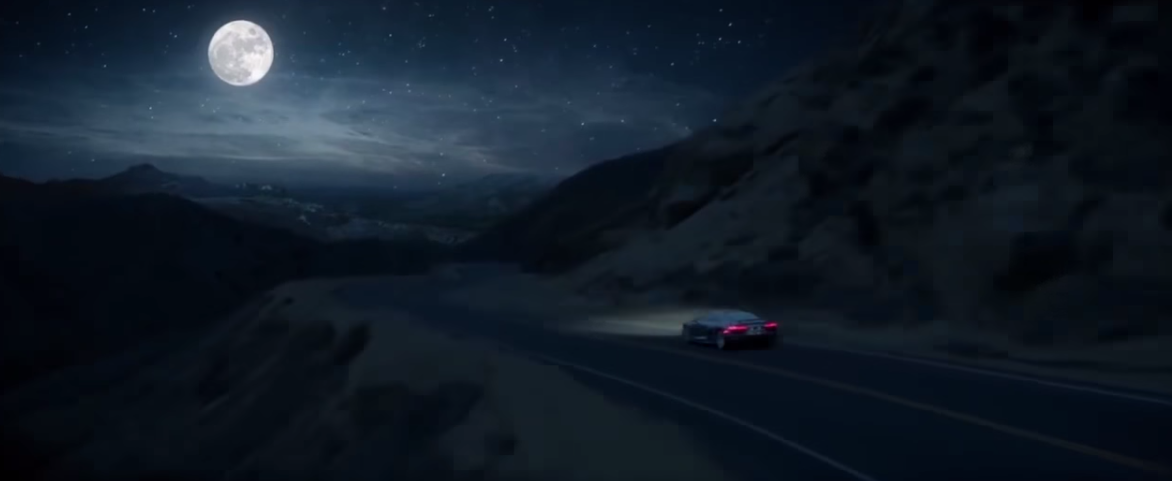
Below I have my main color correction for the ground and then the color correction I’m using on the sky. I’m also including some screenshots I’m using for reference for my day to night, they are from the Audi R8 Space ad. I also recently tried adding a ramp in the scene to adjust how it’s looking, the updated result is in the video below.


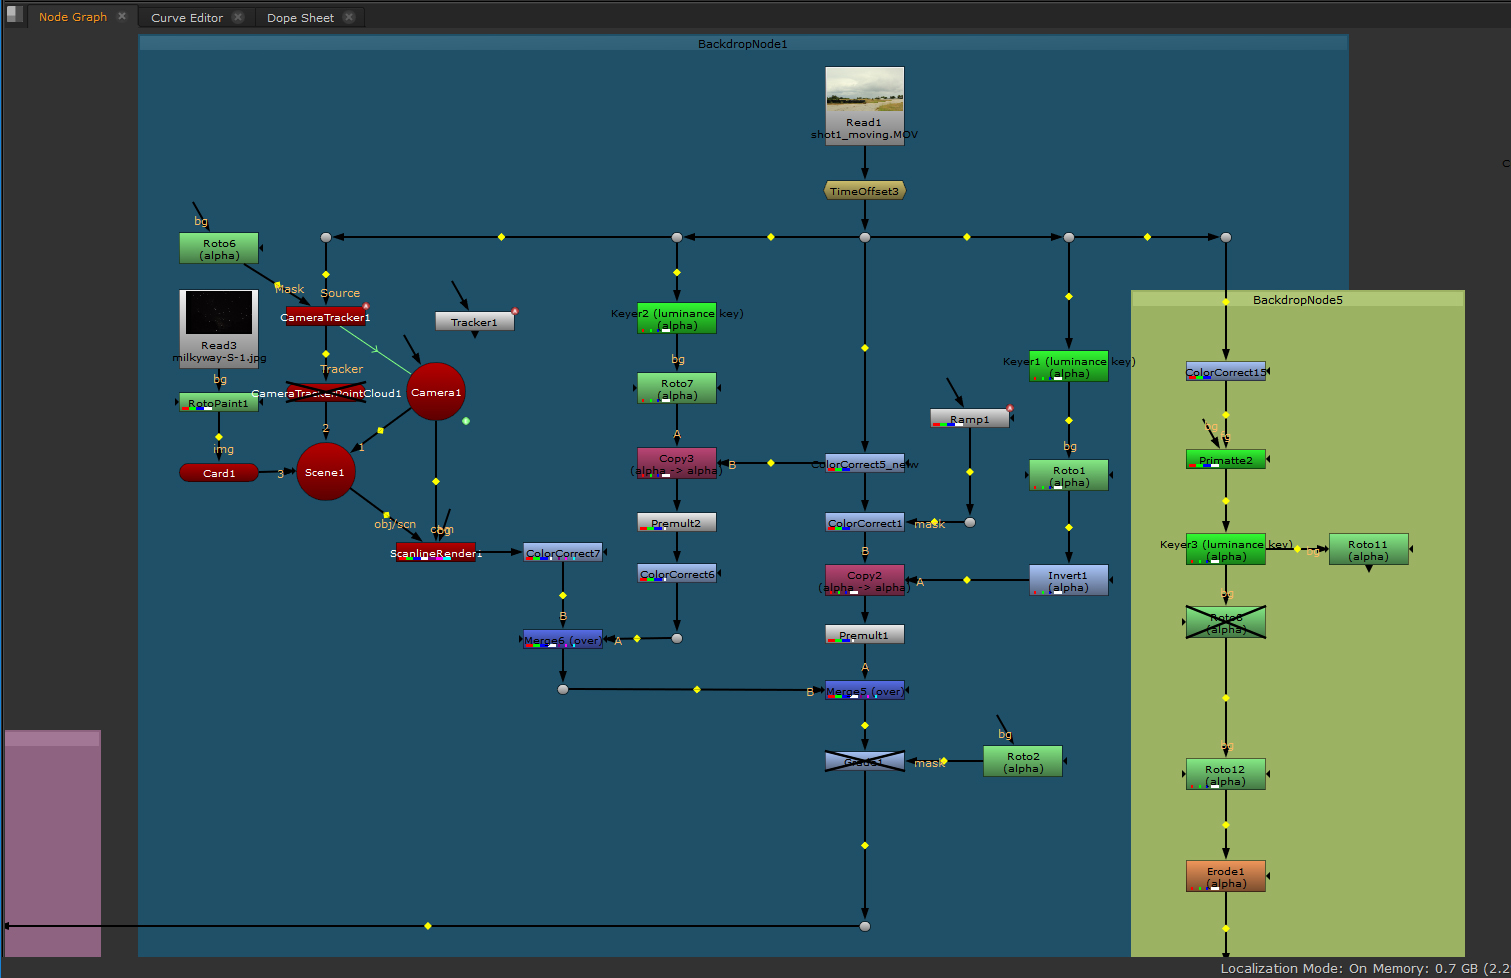
Here I have all my node graphs which are broken down by color. I’ve included close up pictures of the different sections. The blue area focuses on the footage, the green is where I create the alpha for the grass, the pink is the particles, the light grey is the car, and the dark grey is the shadow of the car.