

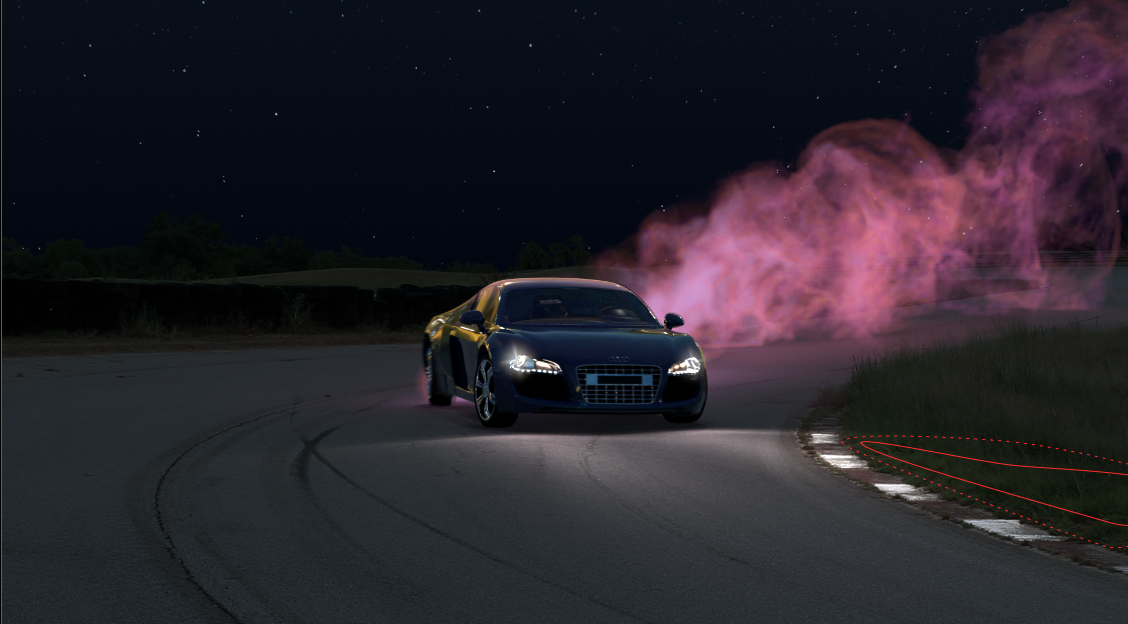
This week we made a lot of progress on our project. A big change we made in our project is changing the color of our car. Our car kept feeling not very reflective and that’s partially because it’s difficult to see reflections in a white material compared to a dark material. We also changed our HDR to one that Zach went out and captured at night. Now that we’re getting into more final stages I’ve also been able to go into some more fine detail comp work and have also added some new layers to the render to help get the look we want. Here is our current edit of the video and below I will go into more detail some of the things I’ve added.
One of the layers I created was a fresnel layer, it’s created using a surface shader with a RGB ramp that is then placed on the object based on where the edges of the object are in space from the direction of the camera, so areas furthest away from the camera are red and closest are blue. Then I can shuffle out a mask using the red channel in nuke. I’m using the red channel and a basic roto to add more pink light over the top of the car based on where the particles are. One of the constant comments we were getting was that there was not enough pink light on the car from the particles and instead of pushing the light further in houdini I thought using this technique would be faster and give us more control over the result. Here’s the before, the fresnel render layer, the red channel from the fresnel render, the roto, and the result of that mask being used to add pink on the car. I also have another photo below showing the fresnel layer at a different angle to show how it’s changes based on the angle of the car.


I also created a separate layer for the star reflection so I could then add in the stars on top of the reflections of our HDR. I’m still not too sure if I’m happy with the size of the stars yet, I feel like I’ve made them too hard to see now but It’s still something small I’m adjusting. Here’s the before and after of those stars being added.


Another render layer I’ve made is just getting the reflection of the ground onto the car separately, that way we can brighten the ground reflection a bit to make the scene feel more integrated.
In the close up shot of the dragon Christo and I worked together to create a special layer to add some rim lighting to the head of the dragon to help separate it from the wing. We use a similar idea to how I made the fresnel layer by creating a render layer where I could pull out a red green or blue channel to make a mask. We placed three different lights in the scene, each one being an RGB value, and then placed them in three different places. One was more towards the front, another towards the middle, and the third towards the back. We also put a plain aistandard shader on the dragon. Then in nuke I looked at the three different results, we liked the red channel best. I then used the red channel as a mask for a color correction on the head to make it pop out a bit more from the wing and background. Here’s the before, the results of the render layer, the red channel that’s being used as a mask, and the results.


For that same close up shot of the dragon we were getting really bright hot spots on the dragon coming from the spot light. In order to still have that specular highlight but control it more we separated the HDR and the spot light into two different render layers. Here’s the before, the dome only render, the spotlight only render and the combination of the separate layers


With this close up shot I’ve also been trying to show the motion of the dragon flying through the sky. Right now I have the dragon on a card in a 3D scene and the sky on a much larger card. The camera and dragon move together to give the stars a slight parallax. It still feels like there’s not as much motion as there should be so I might try adding some clouds moving in the foreground and background to give the scene more depth
Something else I added this week was some rotos on the white areas along the sides of the track in the landing shot. Those area would be reflective so they should get brighter when hit by the headlights. In order to do this I just rotoed each one, and set key frames for when they were active and had that mask a color correction. I also added a roto to the grass area on the right to add some more contrast to the grass when it’s hit by the headlights. Below I have a picture of before, screenshots of my rotos and the result of the rotos and color corrections.


A few other things I did this week was fixing the track for the landing shot so the sky doesn’t slip anymore. I added some lens flares for when the headlights face the camera, so far I’ve only layered two different flares for each light. The renders also have motion blur now, I added motion blur in nuke using the motion vector aov from the renders.
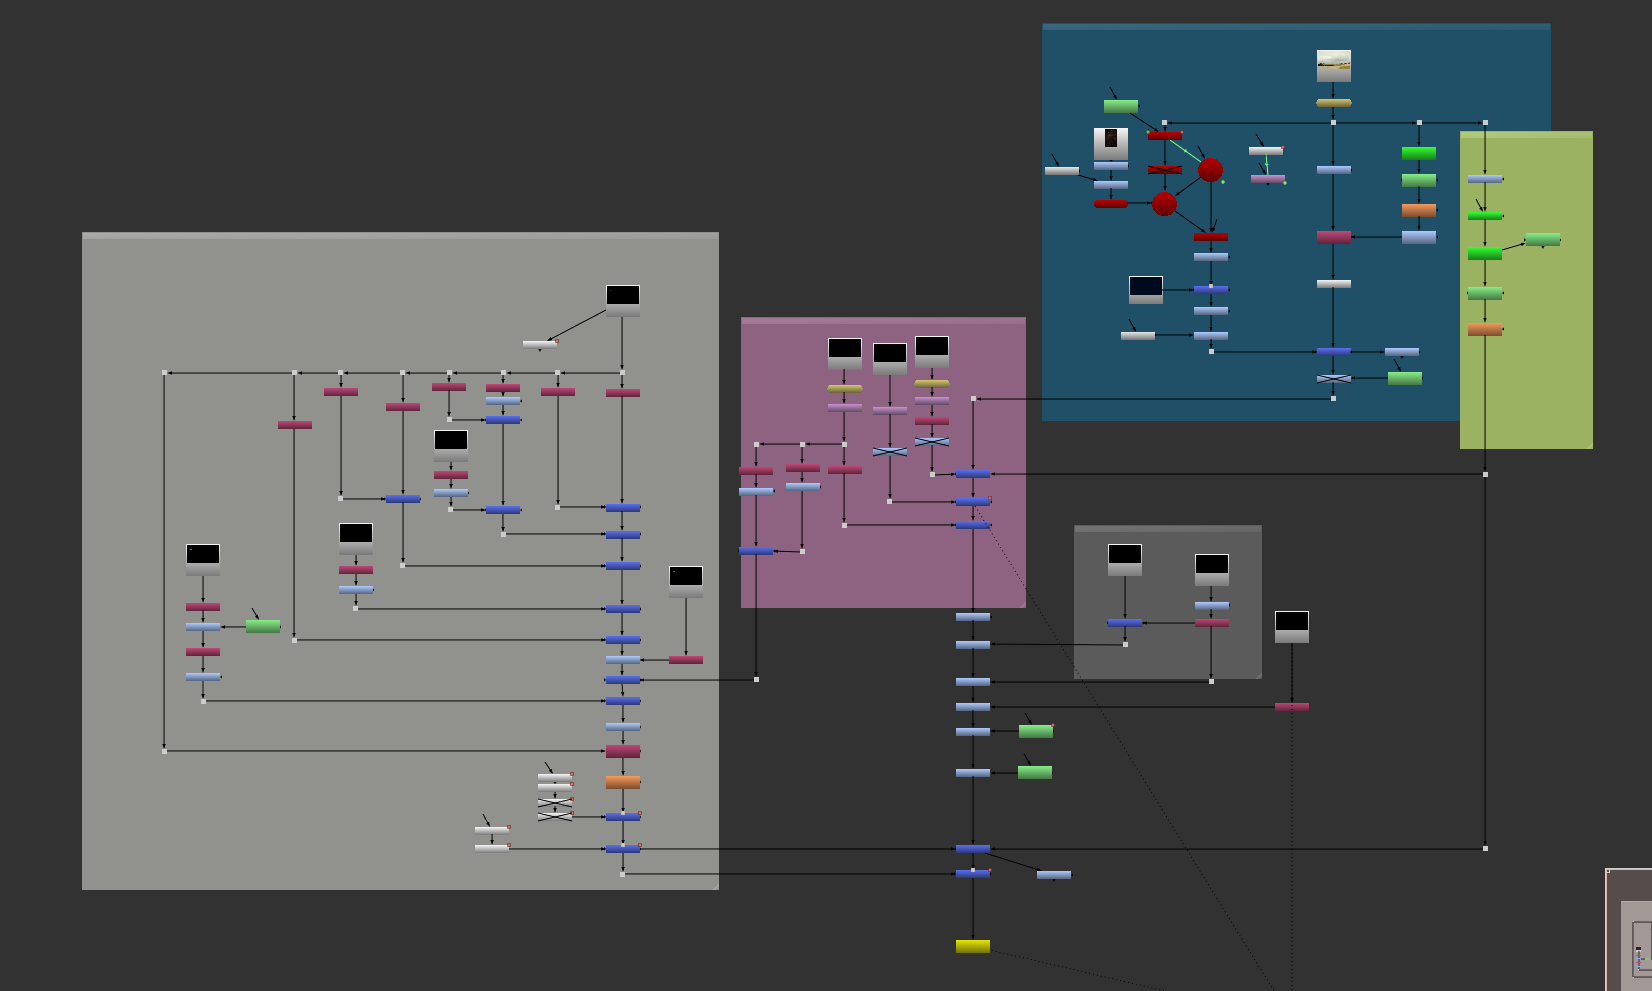
Below are my nuke trees, first is the landing shot which is one big tree that I’ve taken smaller screen shots of to show what I’m doing in each section.


Second is the close up shot.

And here at the end I have the tree for the drifting shot.
